

Preparing Your Permit Applications
How the Application Assistant (Antragsassistent) Works
The Application Assistant helps you determine which permits are required for your event, prepare the associated application documents, and submit them to the relevant approval authorities (Genehmigungsbehörden). The basic principle is that your inputs are application-neutral. This means that all relevant details of your planned event are first collected through a structured questionnaire, and then checked to determine which permits are likely to be necessary. The tool then shows you which application forms you will need, which authorities they should be sent to, and which additional documents are required for each. Some of these documents can be generated by Raumsonde directly.
For permits where dedicated online application services already exist, Raumsonde provides links to the relevant portals and to the responsible authority. You can explore the Application Assistant from the home page without an account. However, to save your inputs and manage your applications, you will need to be logged in. For certain permits, Raumsonde generates application forms with the relevant information pre-filled, as well as supporting documents required for your submissions. These can be downloaded as PDF files. Raumsonde can also prepare email templates addressed to the correct authority – you attach the PDF documents and send.
Starting the Process
There are four ways to begin:
-
From the Pre-Check – If you are new to Raumsonde, you can start with the Pre-Check on the home page to get a quick assessment of your event idea and an estimate of the permits that may be involved. You can then proceed to the full Application Assistant if you wish.
-
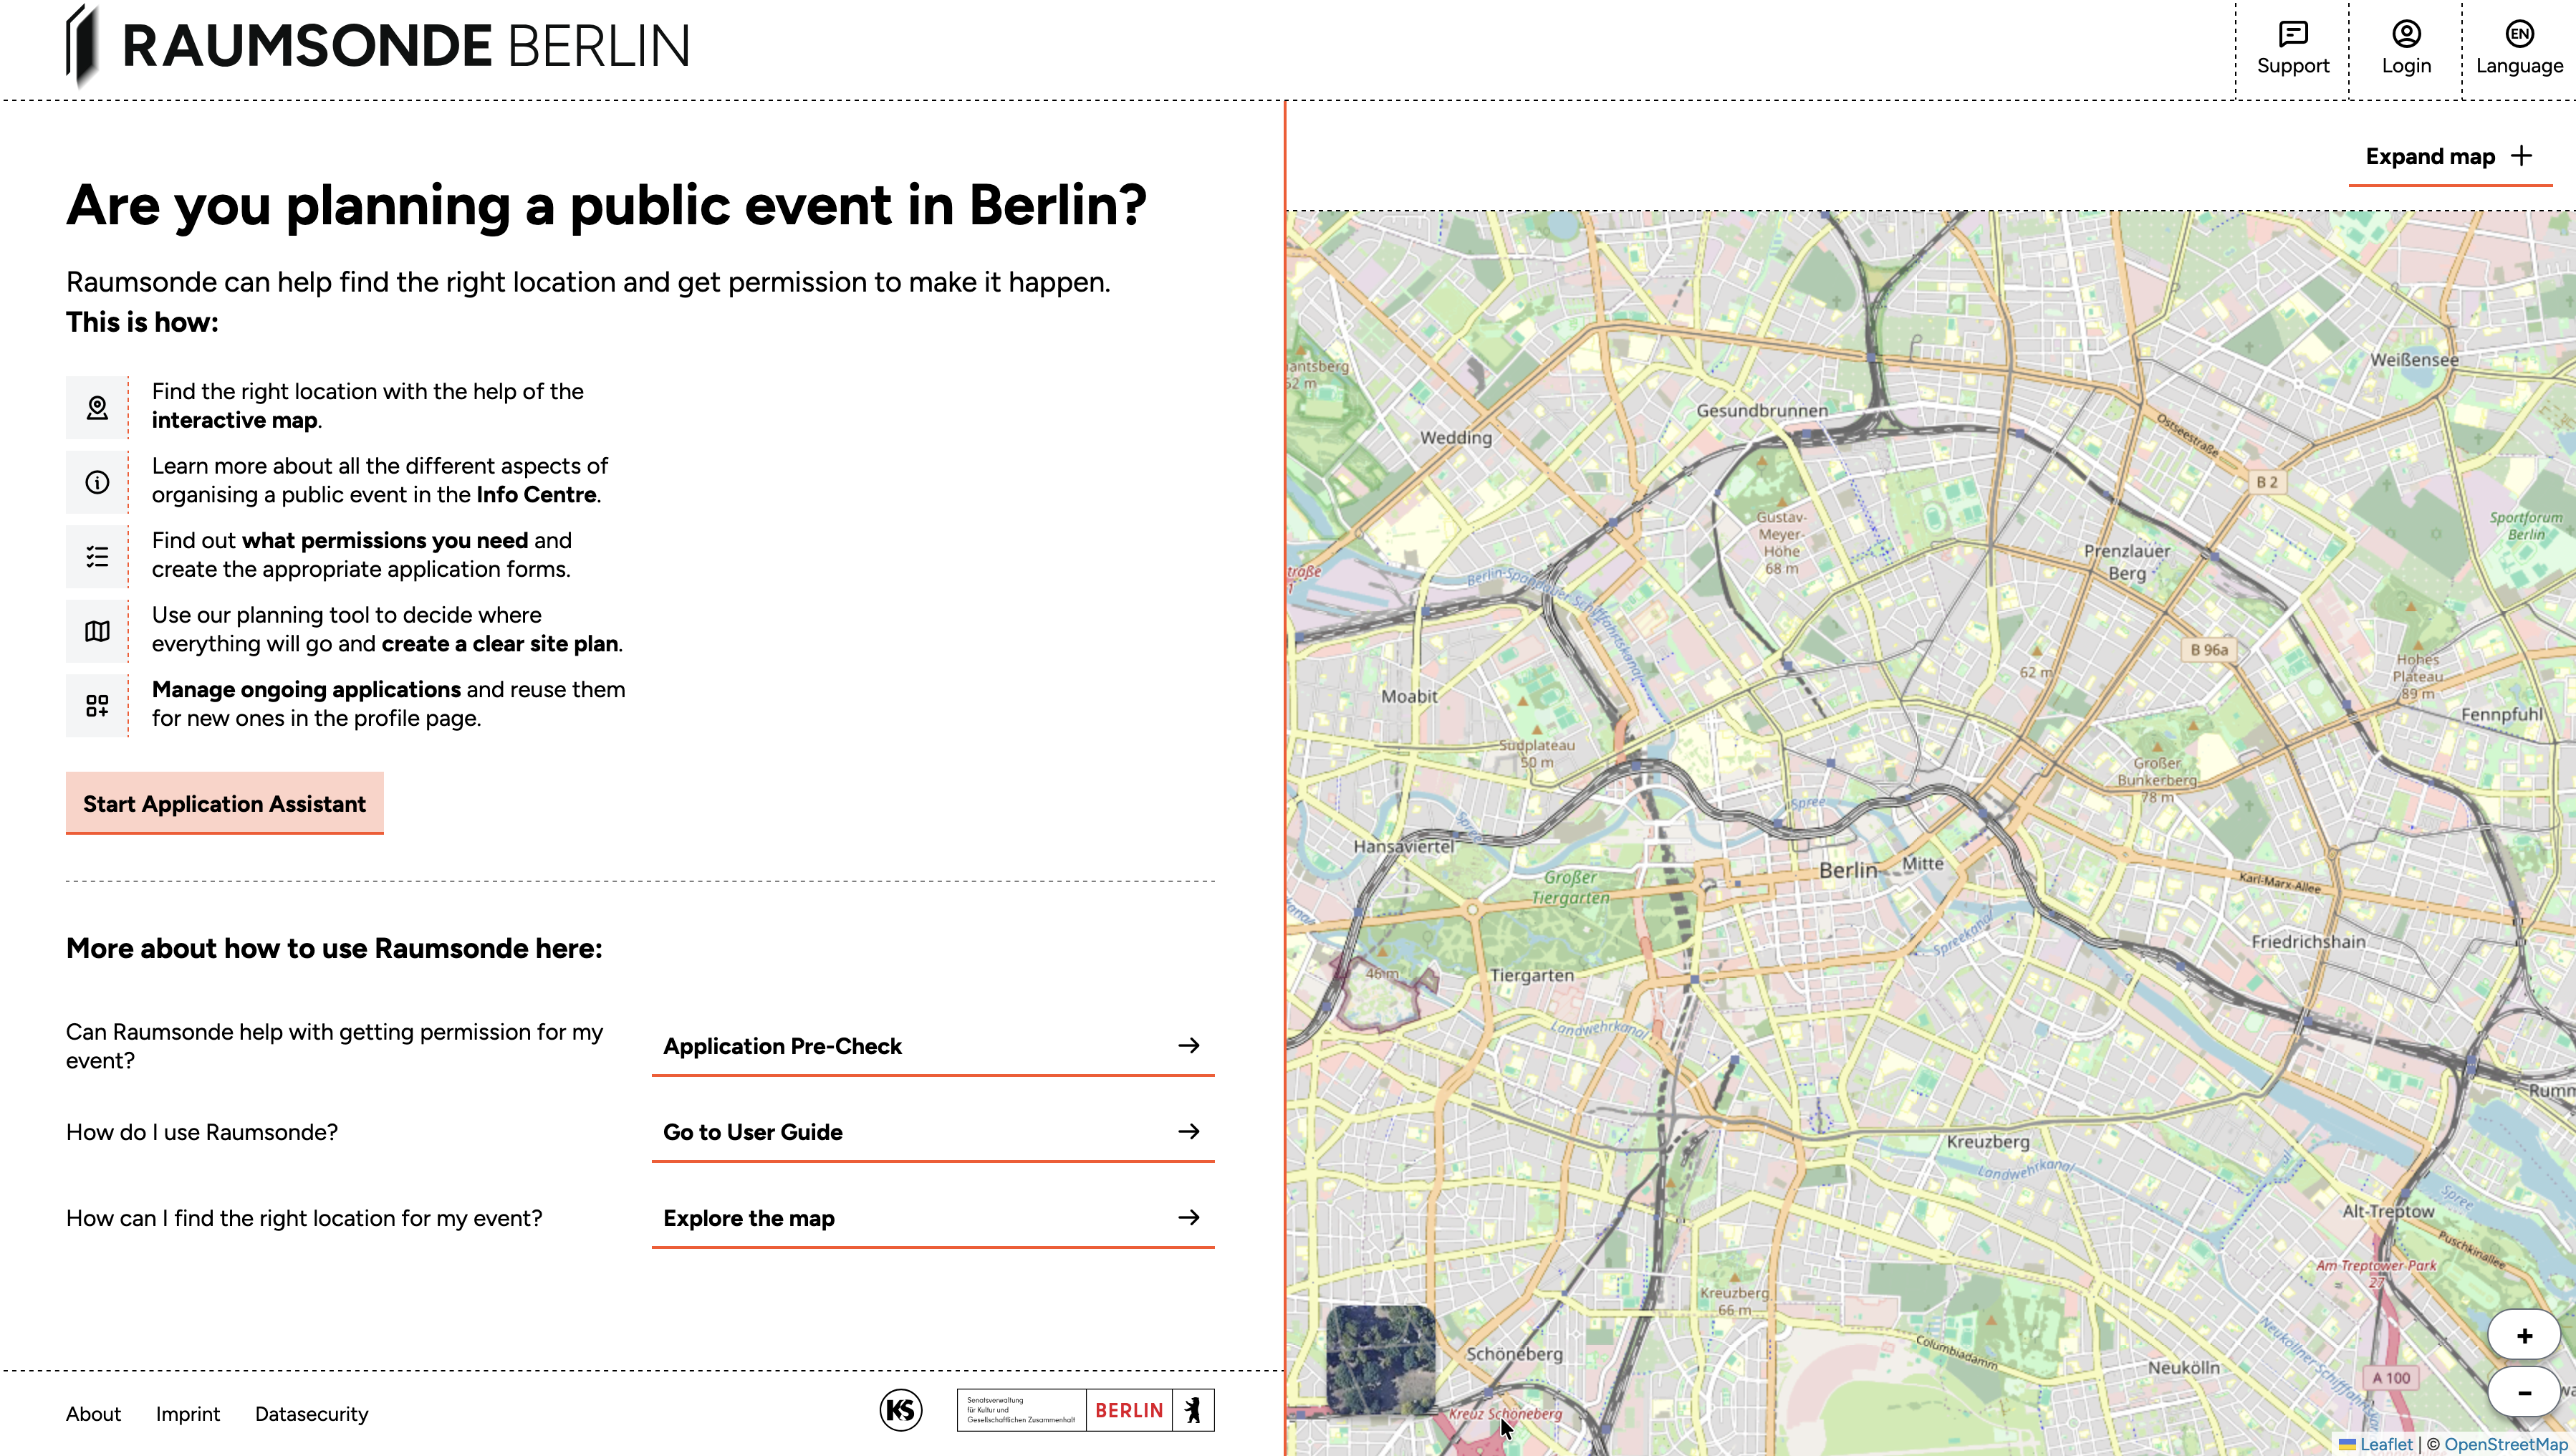
Directly from the home page – Click the Start Application Assistant button at the bottom of the information column to create a new event and go straight to the Application Assistant. If you want your inputs to be saved, make sure you are logged in.
-
From the Space Map – If you have already selected a location on the Space Map, you can click the Apply to application button in the Quick Checker to create a new application at that location. The address details are transferred automatically.
-
By duplicating a previous event – If you are preparing an event similar to one you have organised before using Raumsonde (for example, at the same location or in a similar format), you can duplicate the saved event in the My Events section of your User Profile and adjust the details as needed. This saves time and helps maintain consistency with previously successful applications.
Pre-Check: Is Raumsonde Right for Your Event?
The Pre-Check is a short questionnaire on the home page that helps you get a quick overview of whether Raumsonde can assist with your event and how complex the permit procedure might be.
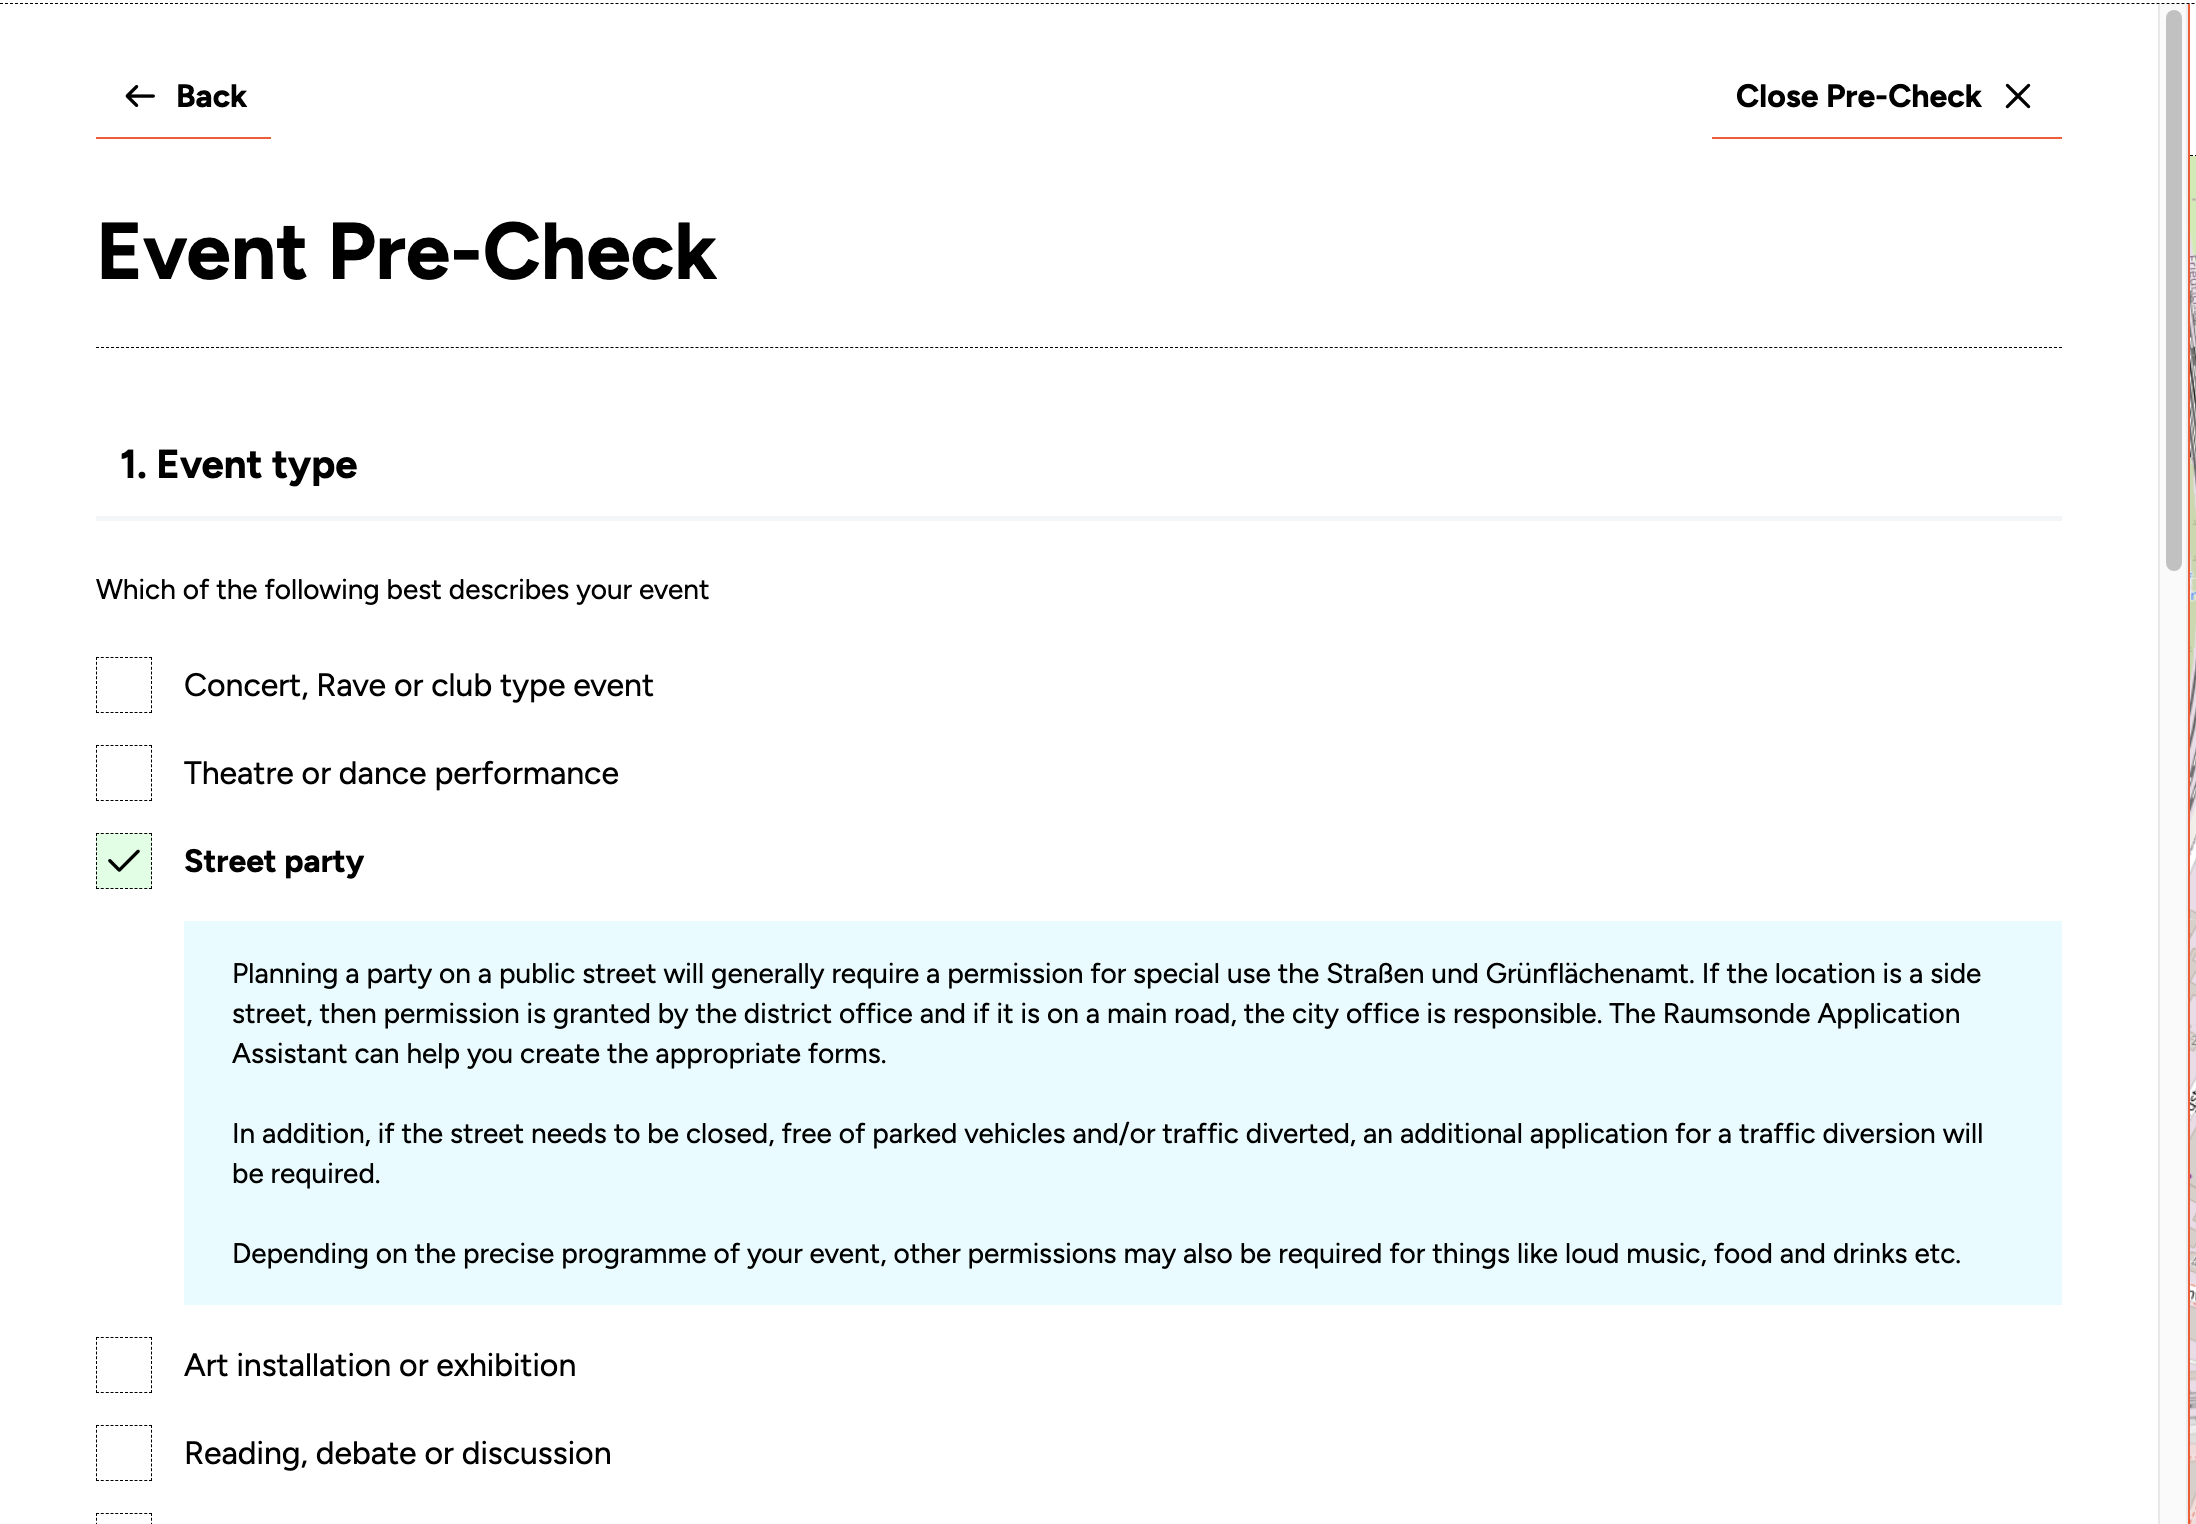
It consists of four multiple-choice questions covering different aspects of your planned event. Based on your answers, the tool provides initial guidance on the permits you may need. If you wish to continue, click Start Application to proceed to the Application Assistant. Otherwise, click Close Pre-Check to return to the home page.
Step 1: Set Up Your Event
Give your event a name. This name will be used on your application forms, appendices, and in the event list in your User Profile.
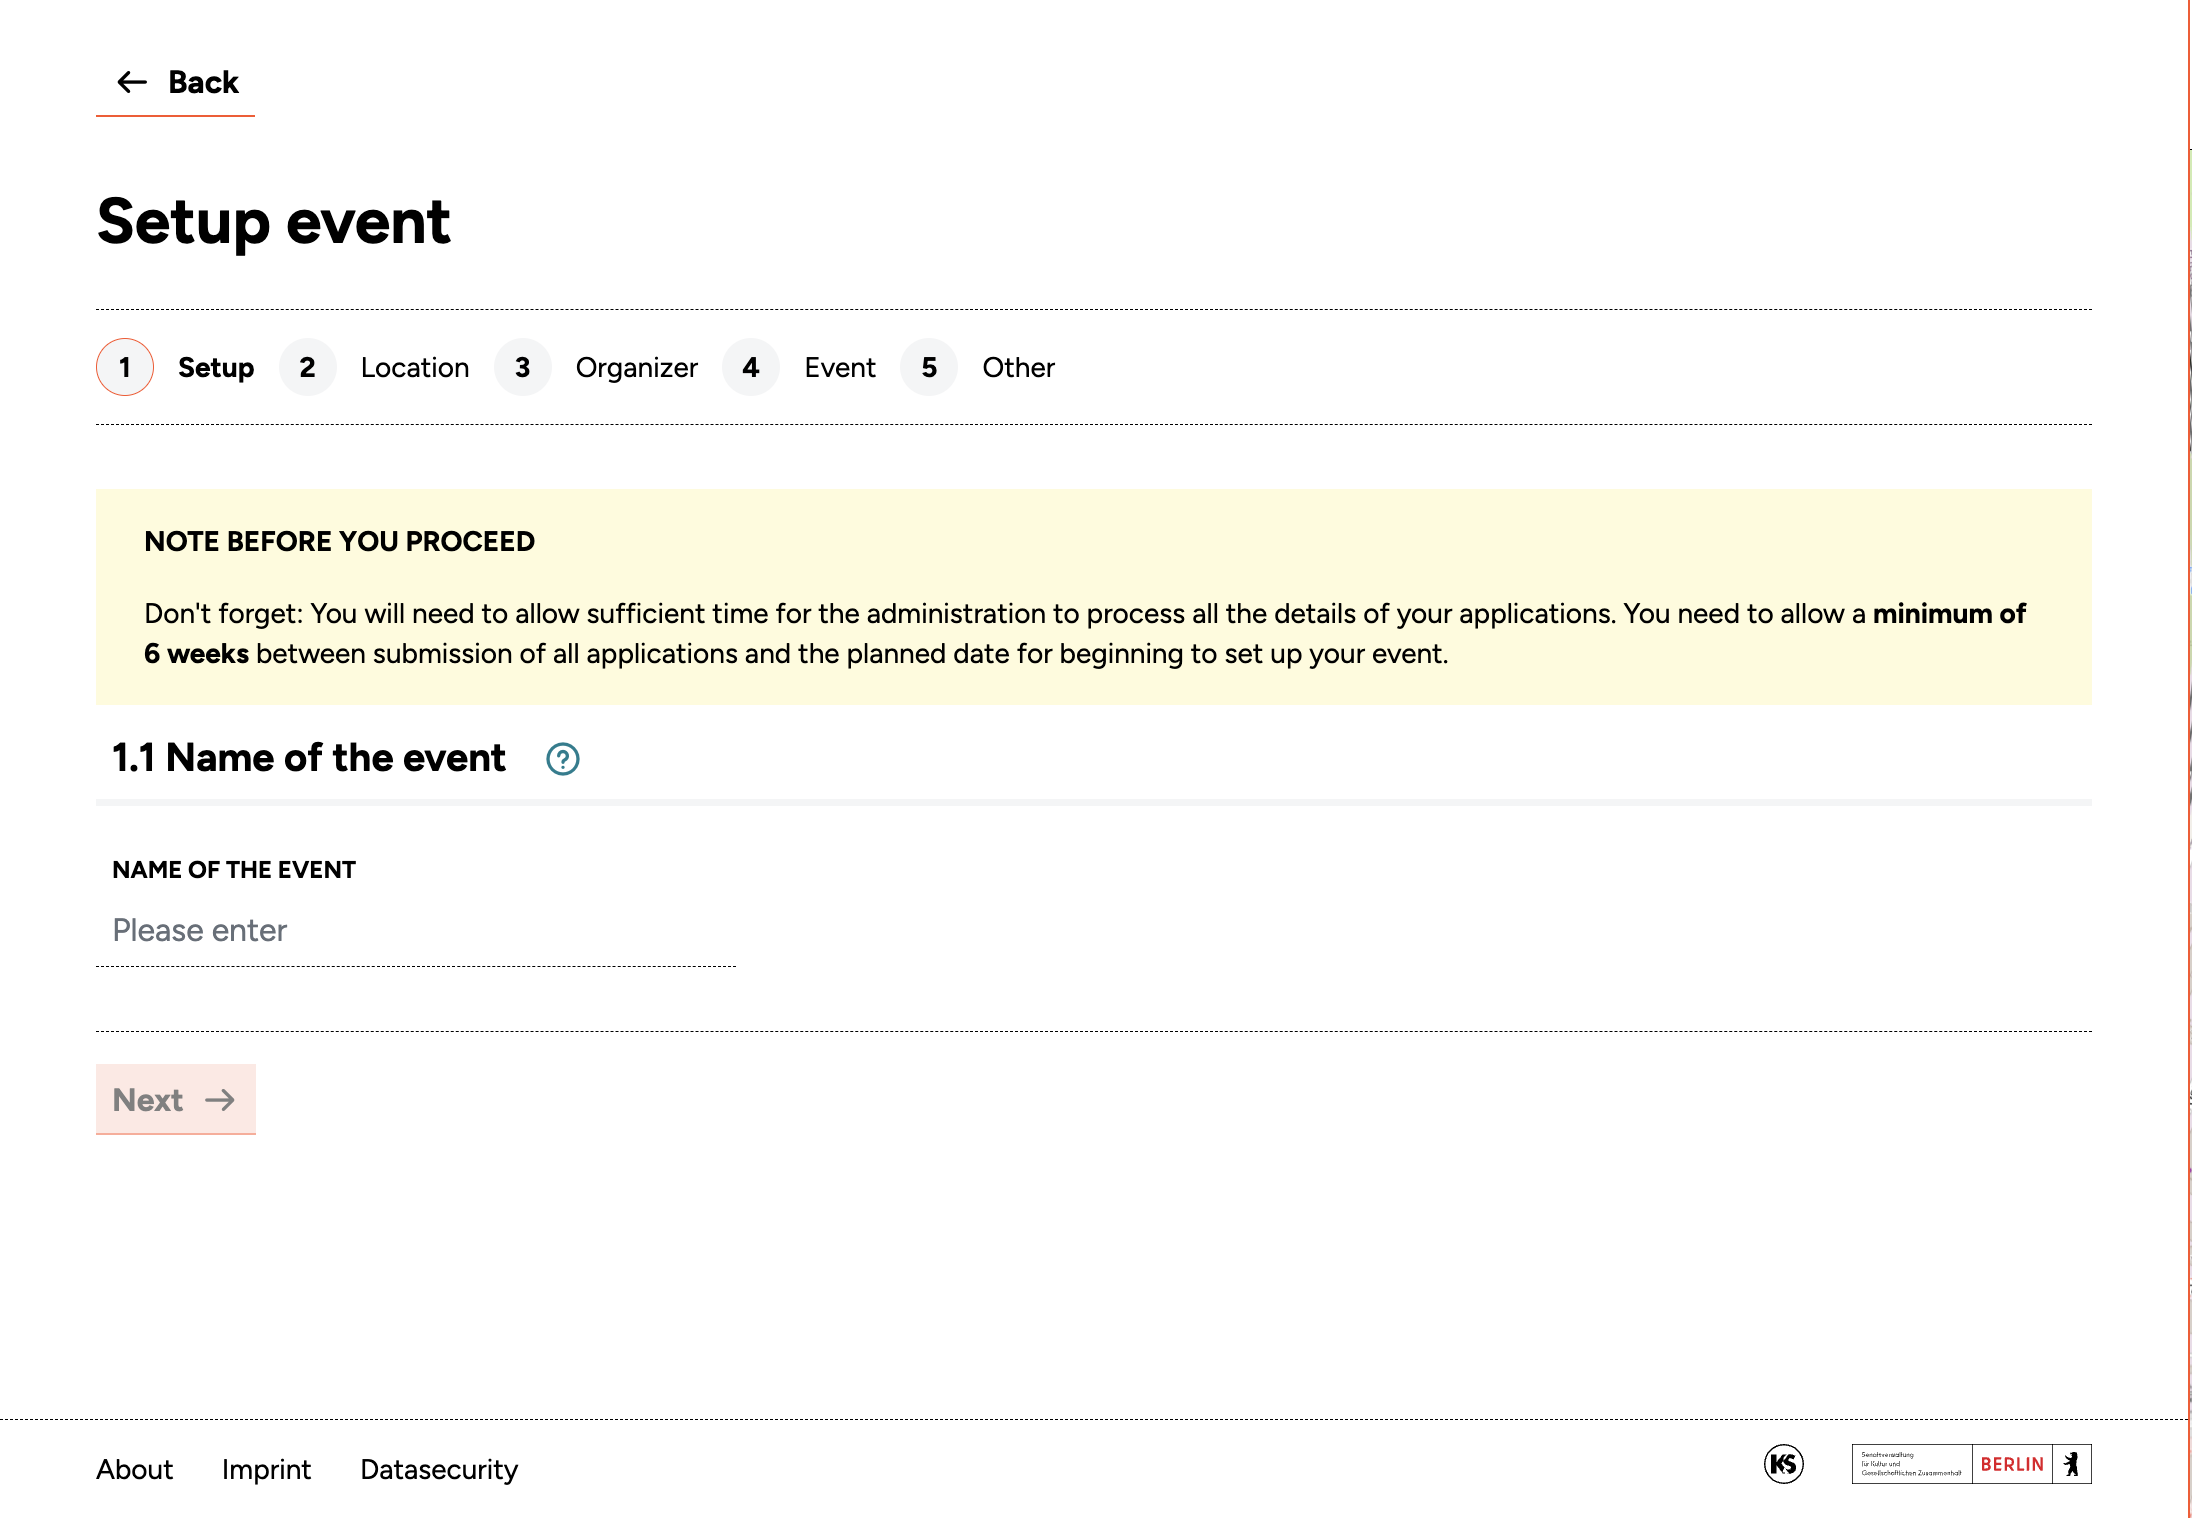
When you have entered a name, click Next to continue.
Step 2: Location Details
In this step, you provide the details of your event location.
Address
Enter the address of the planned event. You can type it in manually or open the interactive map, navigate to the location, drop a pin, and click Save location. The address is then transferred into the Application Assistant automatically. If you started your application from the Quick Checker on the Space Map (see Section Starting the Process), the address will already be pre-filled.
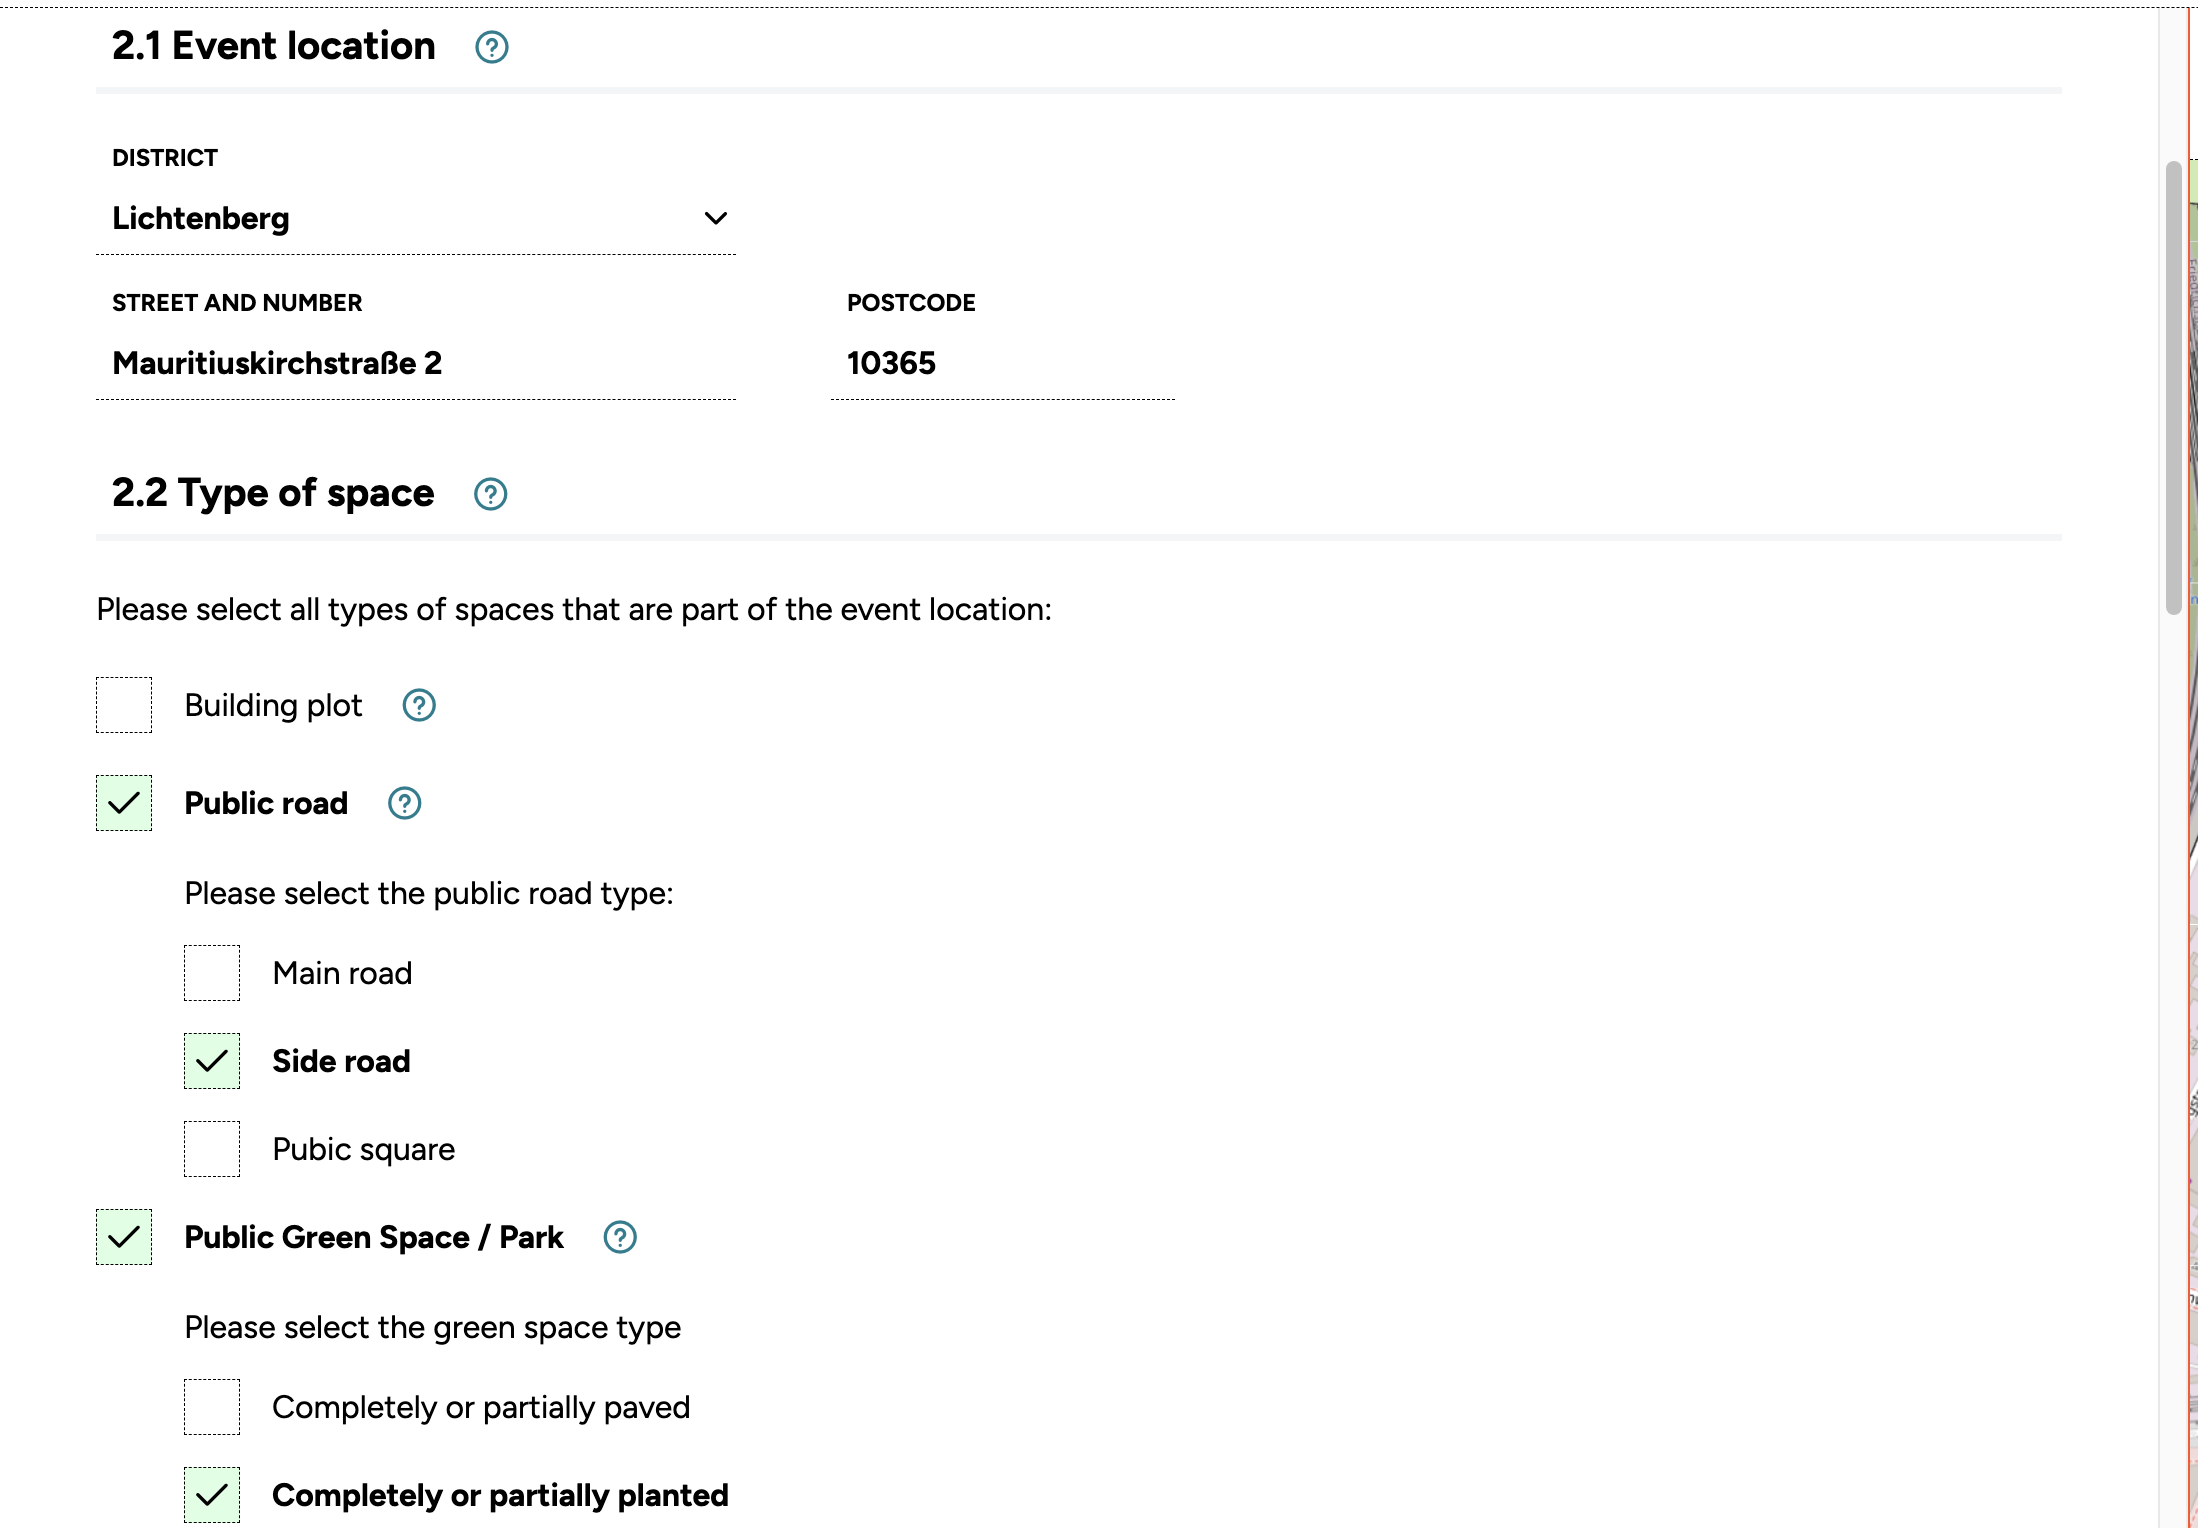
Space type
Define what type of space your location is – for example, street land (Straßenland), green space (Grünanlage), traffic area (Verkehrsfläche), or public open space (öffentliche Freifläche). You can use the information layers on the Space Map or the Quick Checker to help identify this. If your event area covers more than one type of space, you can make multiple entries. Different space types may require different permits – the tool will guide you through this.
Area
Enter the total area your event will require. You can activate the Site Planner by expanding the map and switching to the Site Plan tab at the bottom centre of the map window. From there, you can draw the outline of your event area directly on the map and use the measure tool (see Section Adjusting Properties) to calculate the exact area in square metres and perimeter length. This is a practical way to ensure the figures you enter here are accurate. If your event covers more than one type of space, you should measure and enter the areas separately – for example, the area of road, pavement, and green space each need to be recorded individually, as these figures are used by the administration to calculate fees for the use of public space.
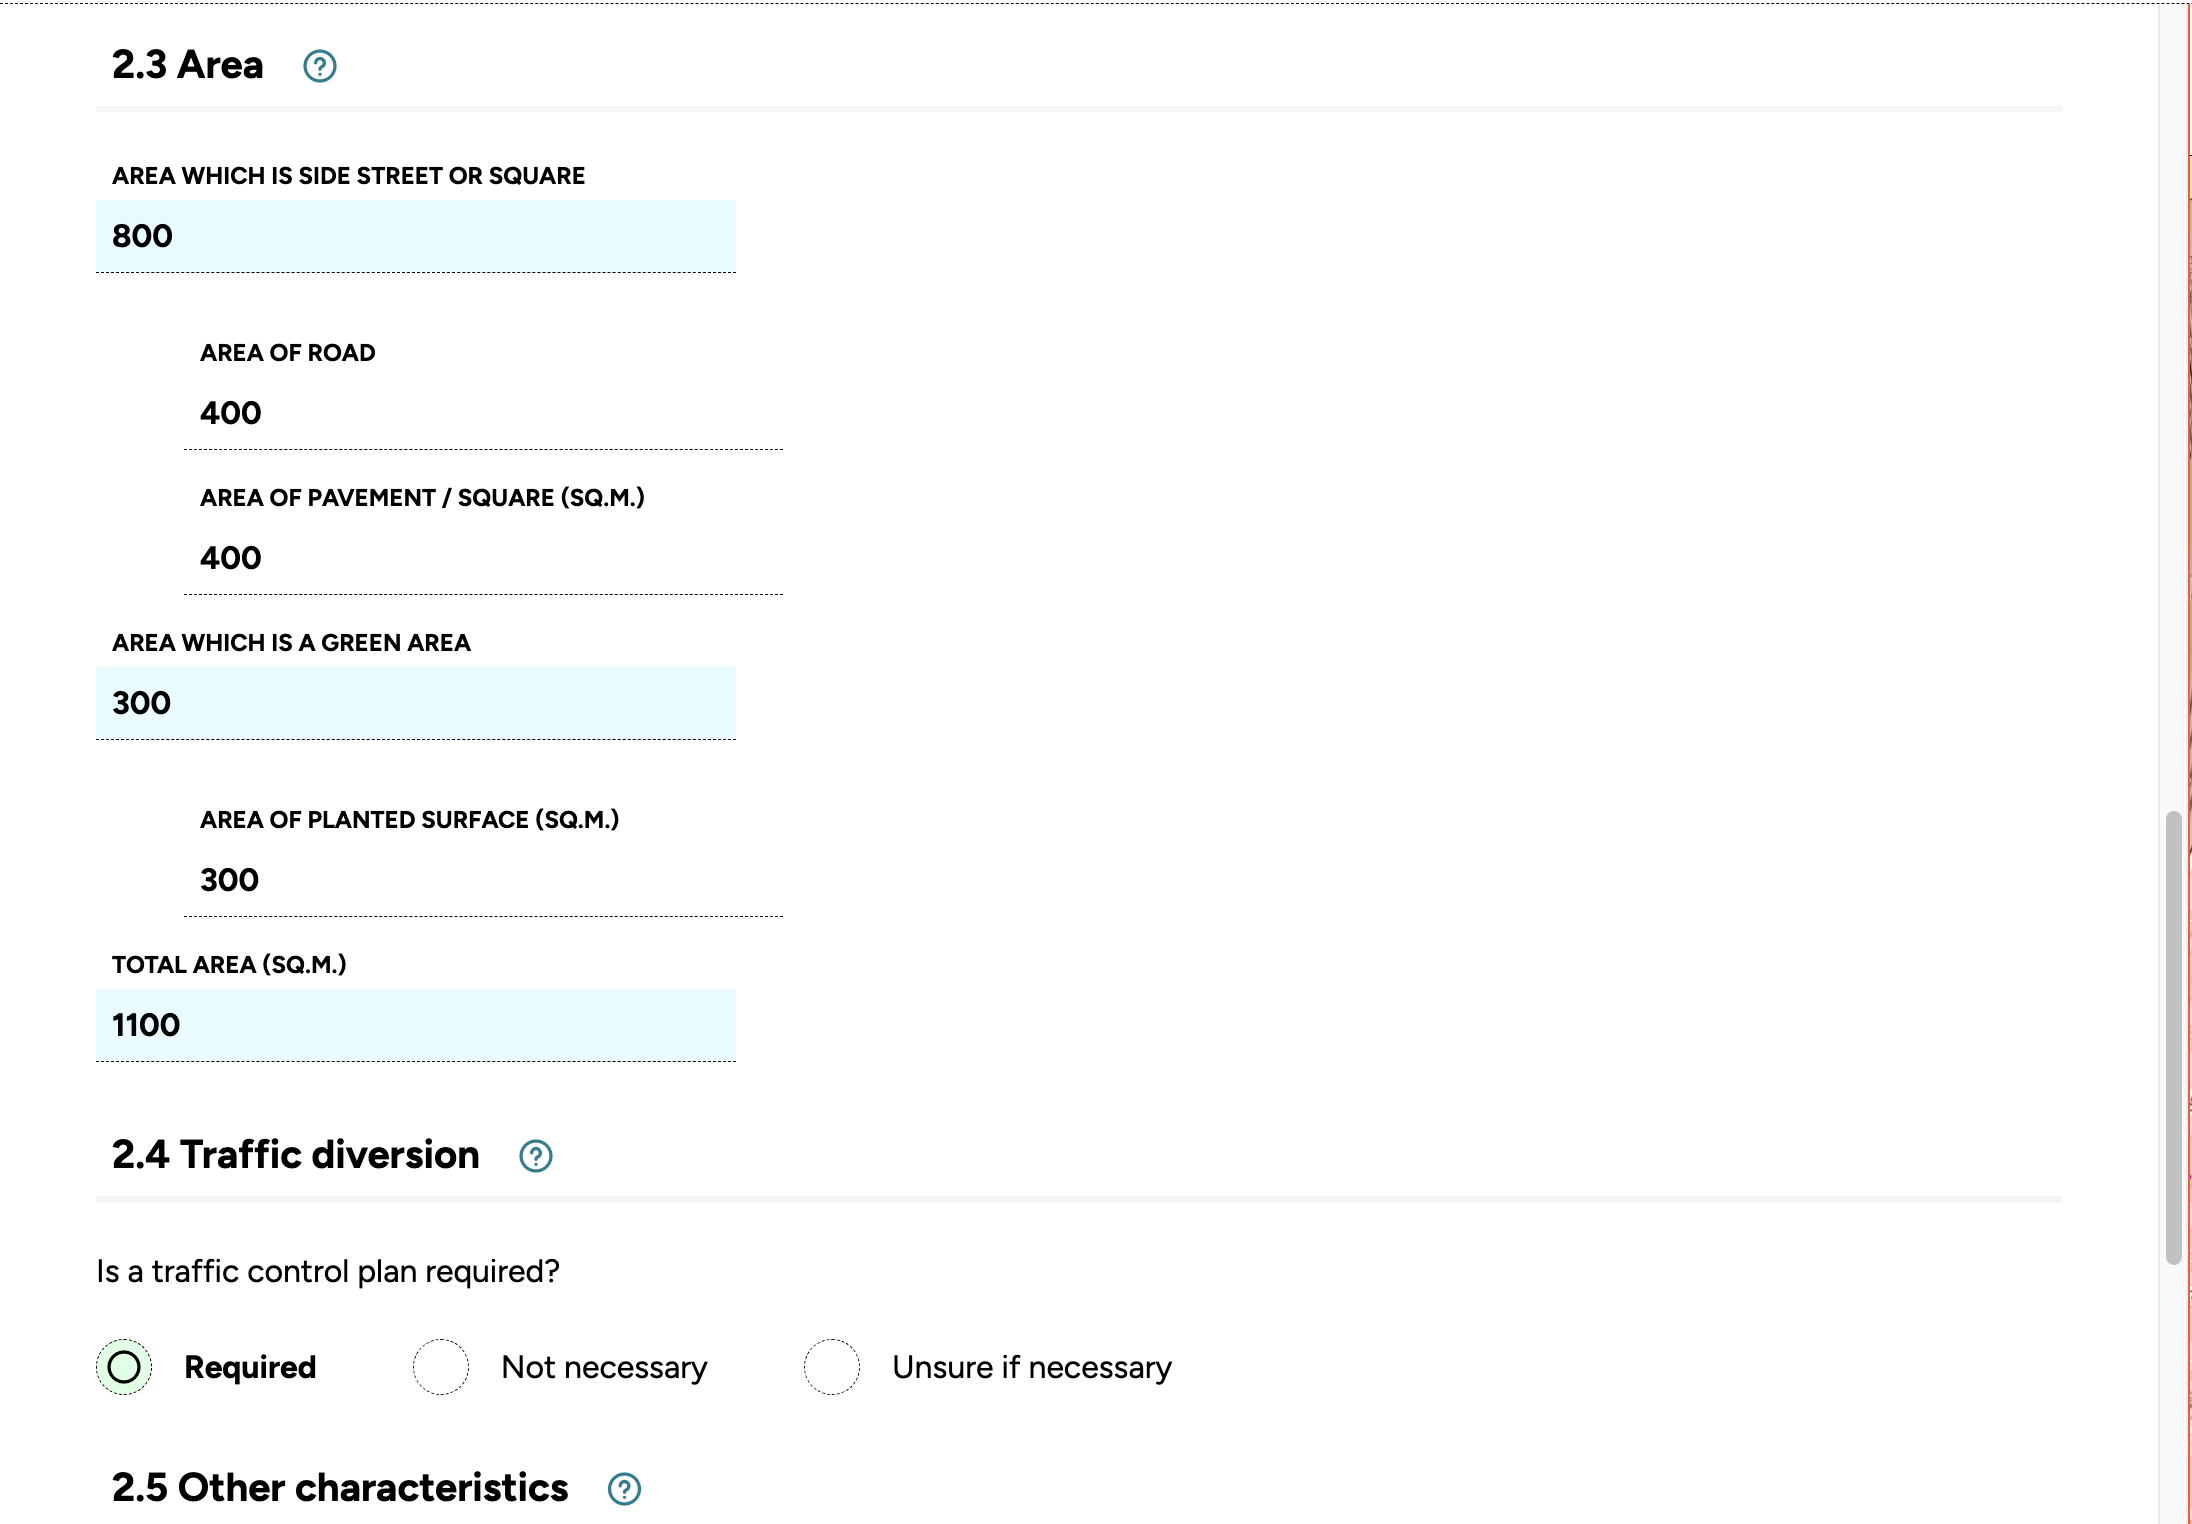
Traffic diversion
If your event takes place on a road, traffic may need to be diverted or restricted. This could involve a full street closure, the temporary clearance of parking spaces, or – depending on the situation – the rerouting of bus lines. Traffic management requires a separate permit (a traffic order) for which a traffic sign plan (Verkehrszeichenplan) must be prepared. Many specific regulations apply during implementation, including the correct use of signs, cordoning off areas, and maintaining access for emergency services.
The process can be complex and requires specialist knowledge. We recommend that organisers hire a professional organisation to handle traffic management, including the preparation of the traffic sign plan. Five copies of this plan must be attached to the relevant application.
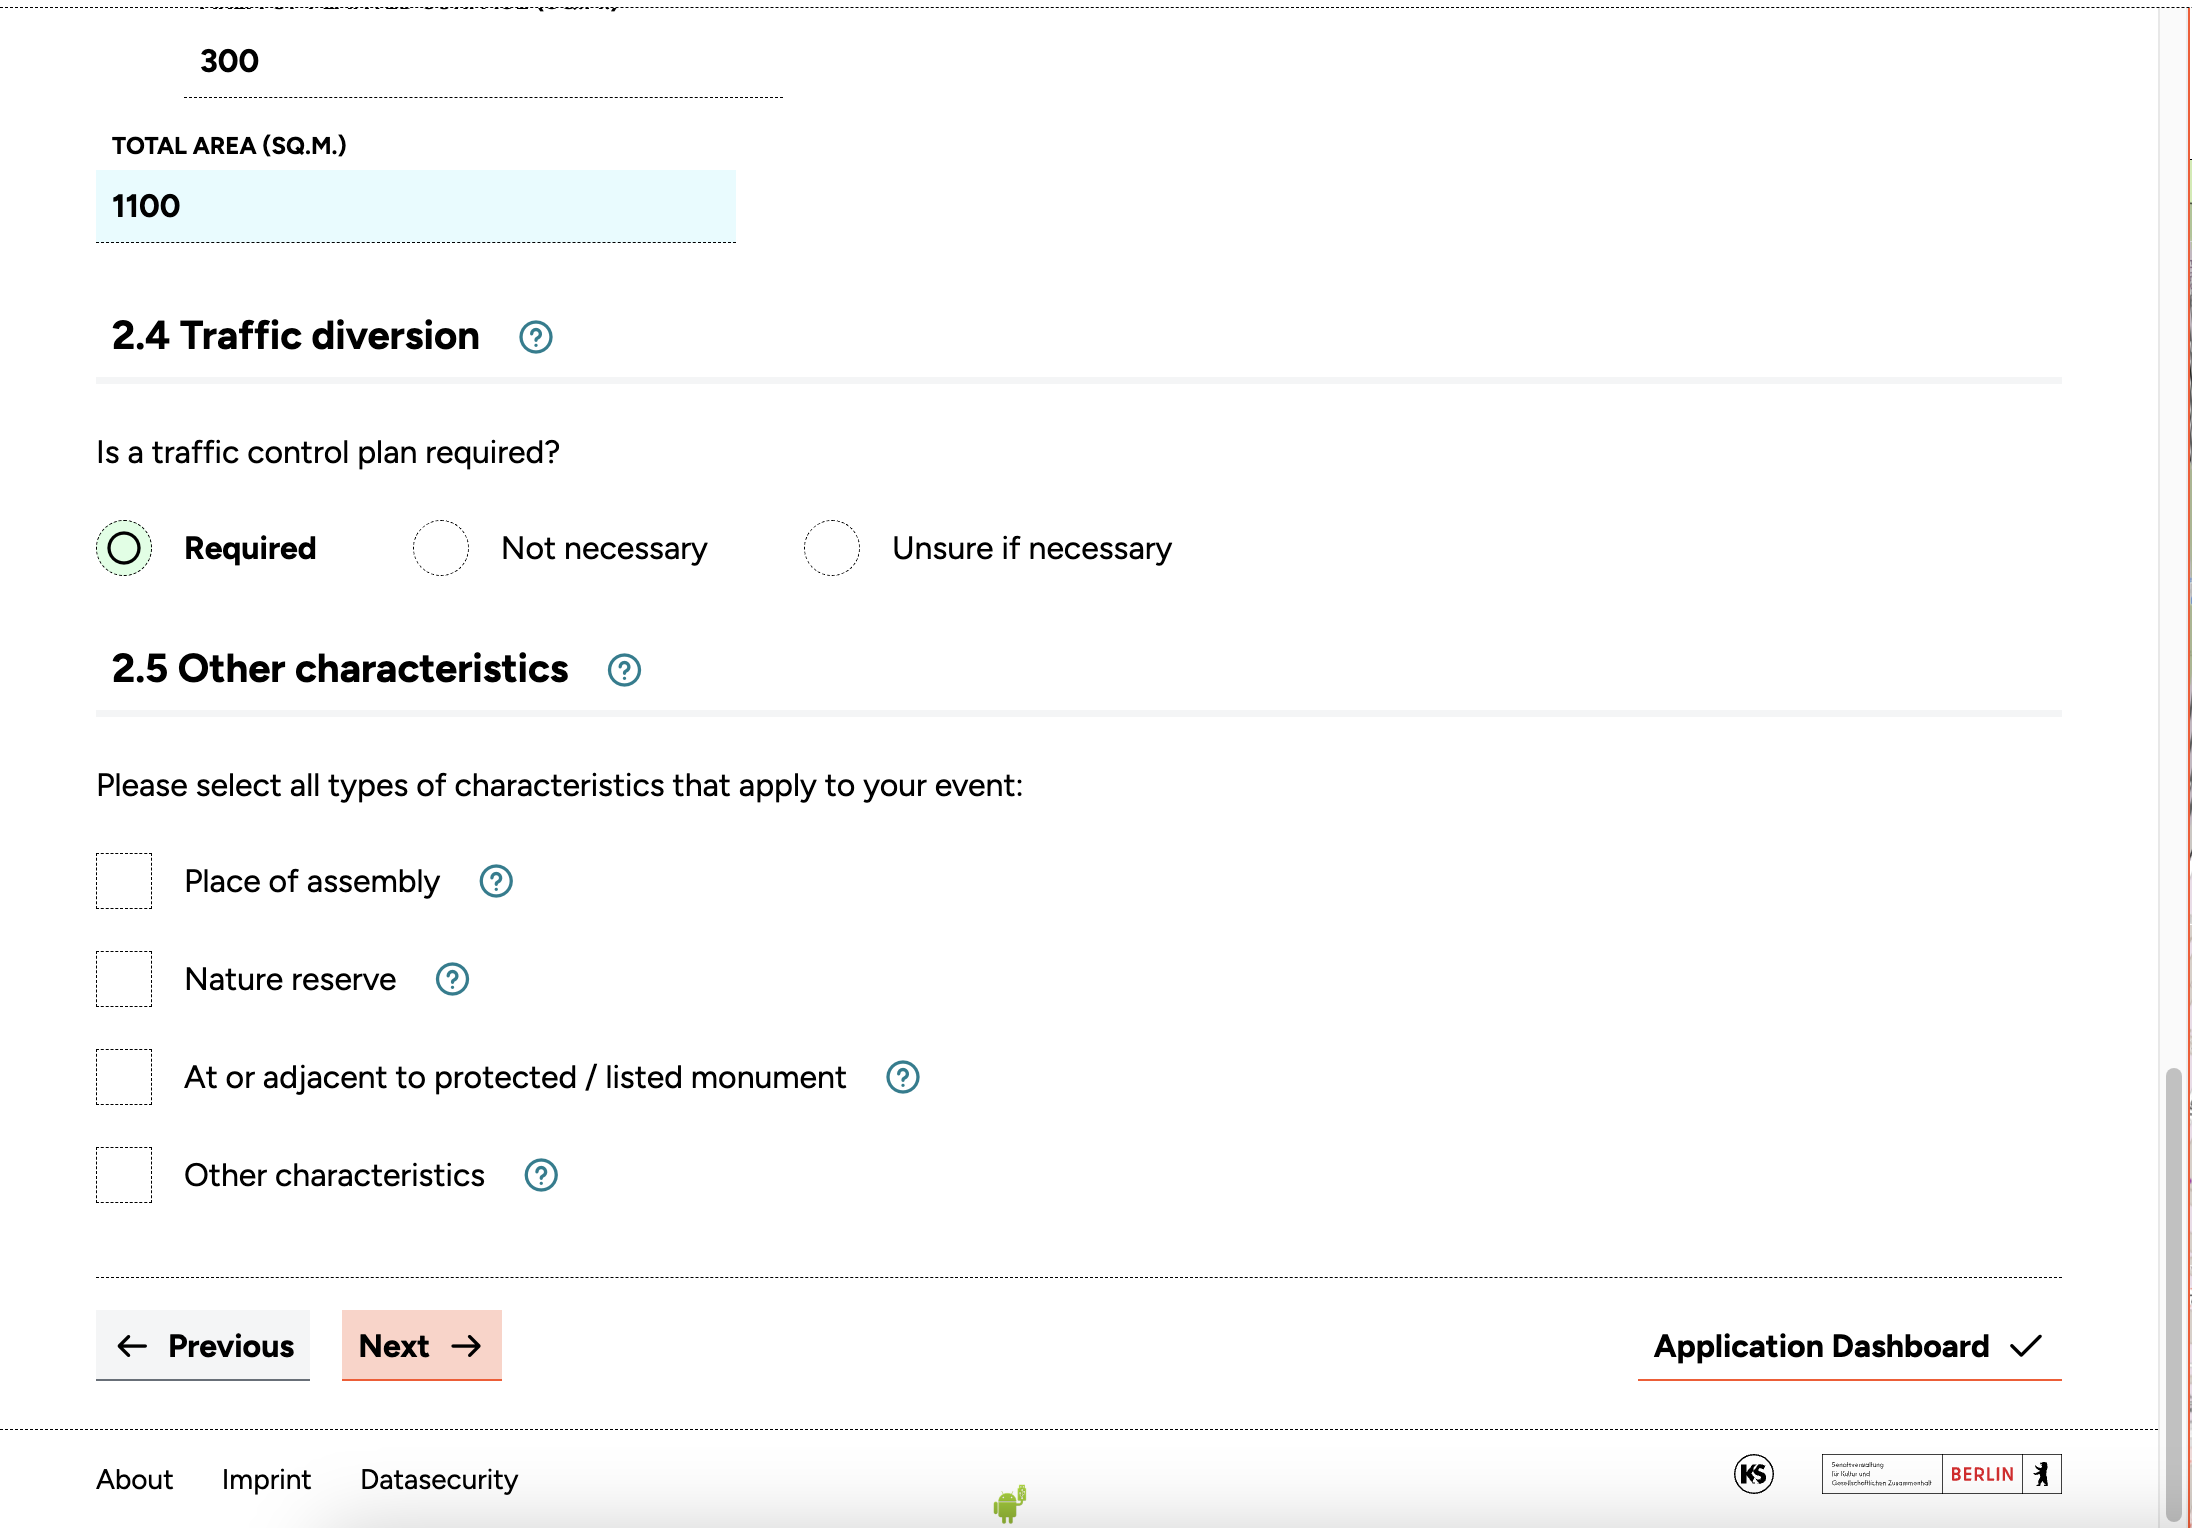
Other characteristics
The final question in this section covers any other characteristics of the space that may be relevant for your permits – for example, whether the location is in a protected area (geschütztes Gebiet) or near noise-sensitive buildings. The information layers on the Space Map can help you identify these.
When all fields are complete, click Next to continue.
Step 3: Applicant Information
In this step, you provide information about the permit applicant and event organiser.
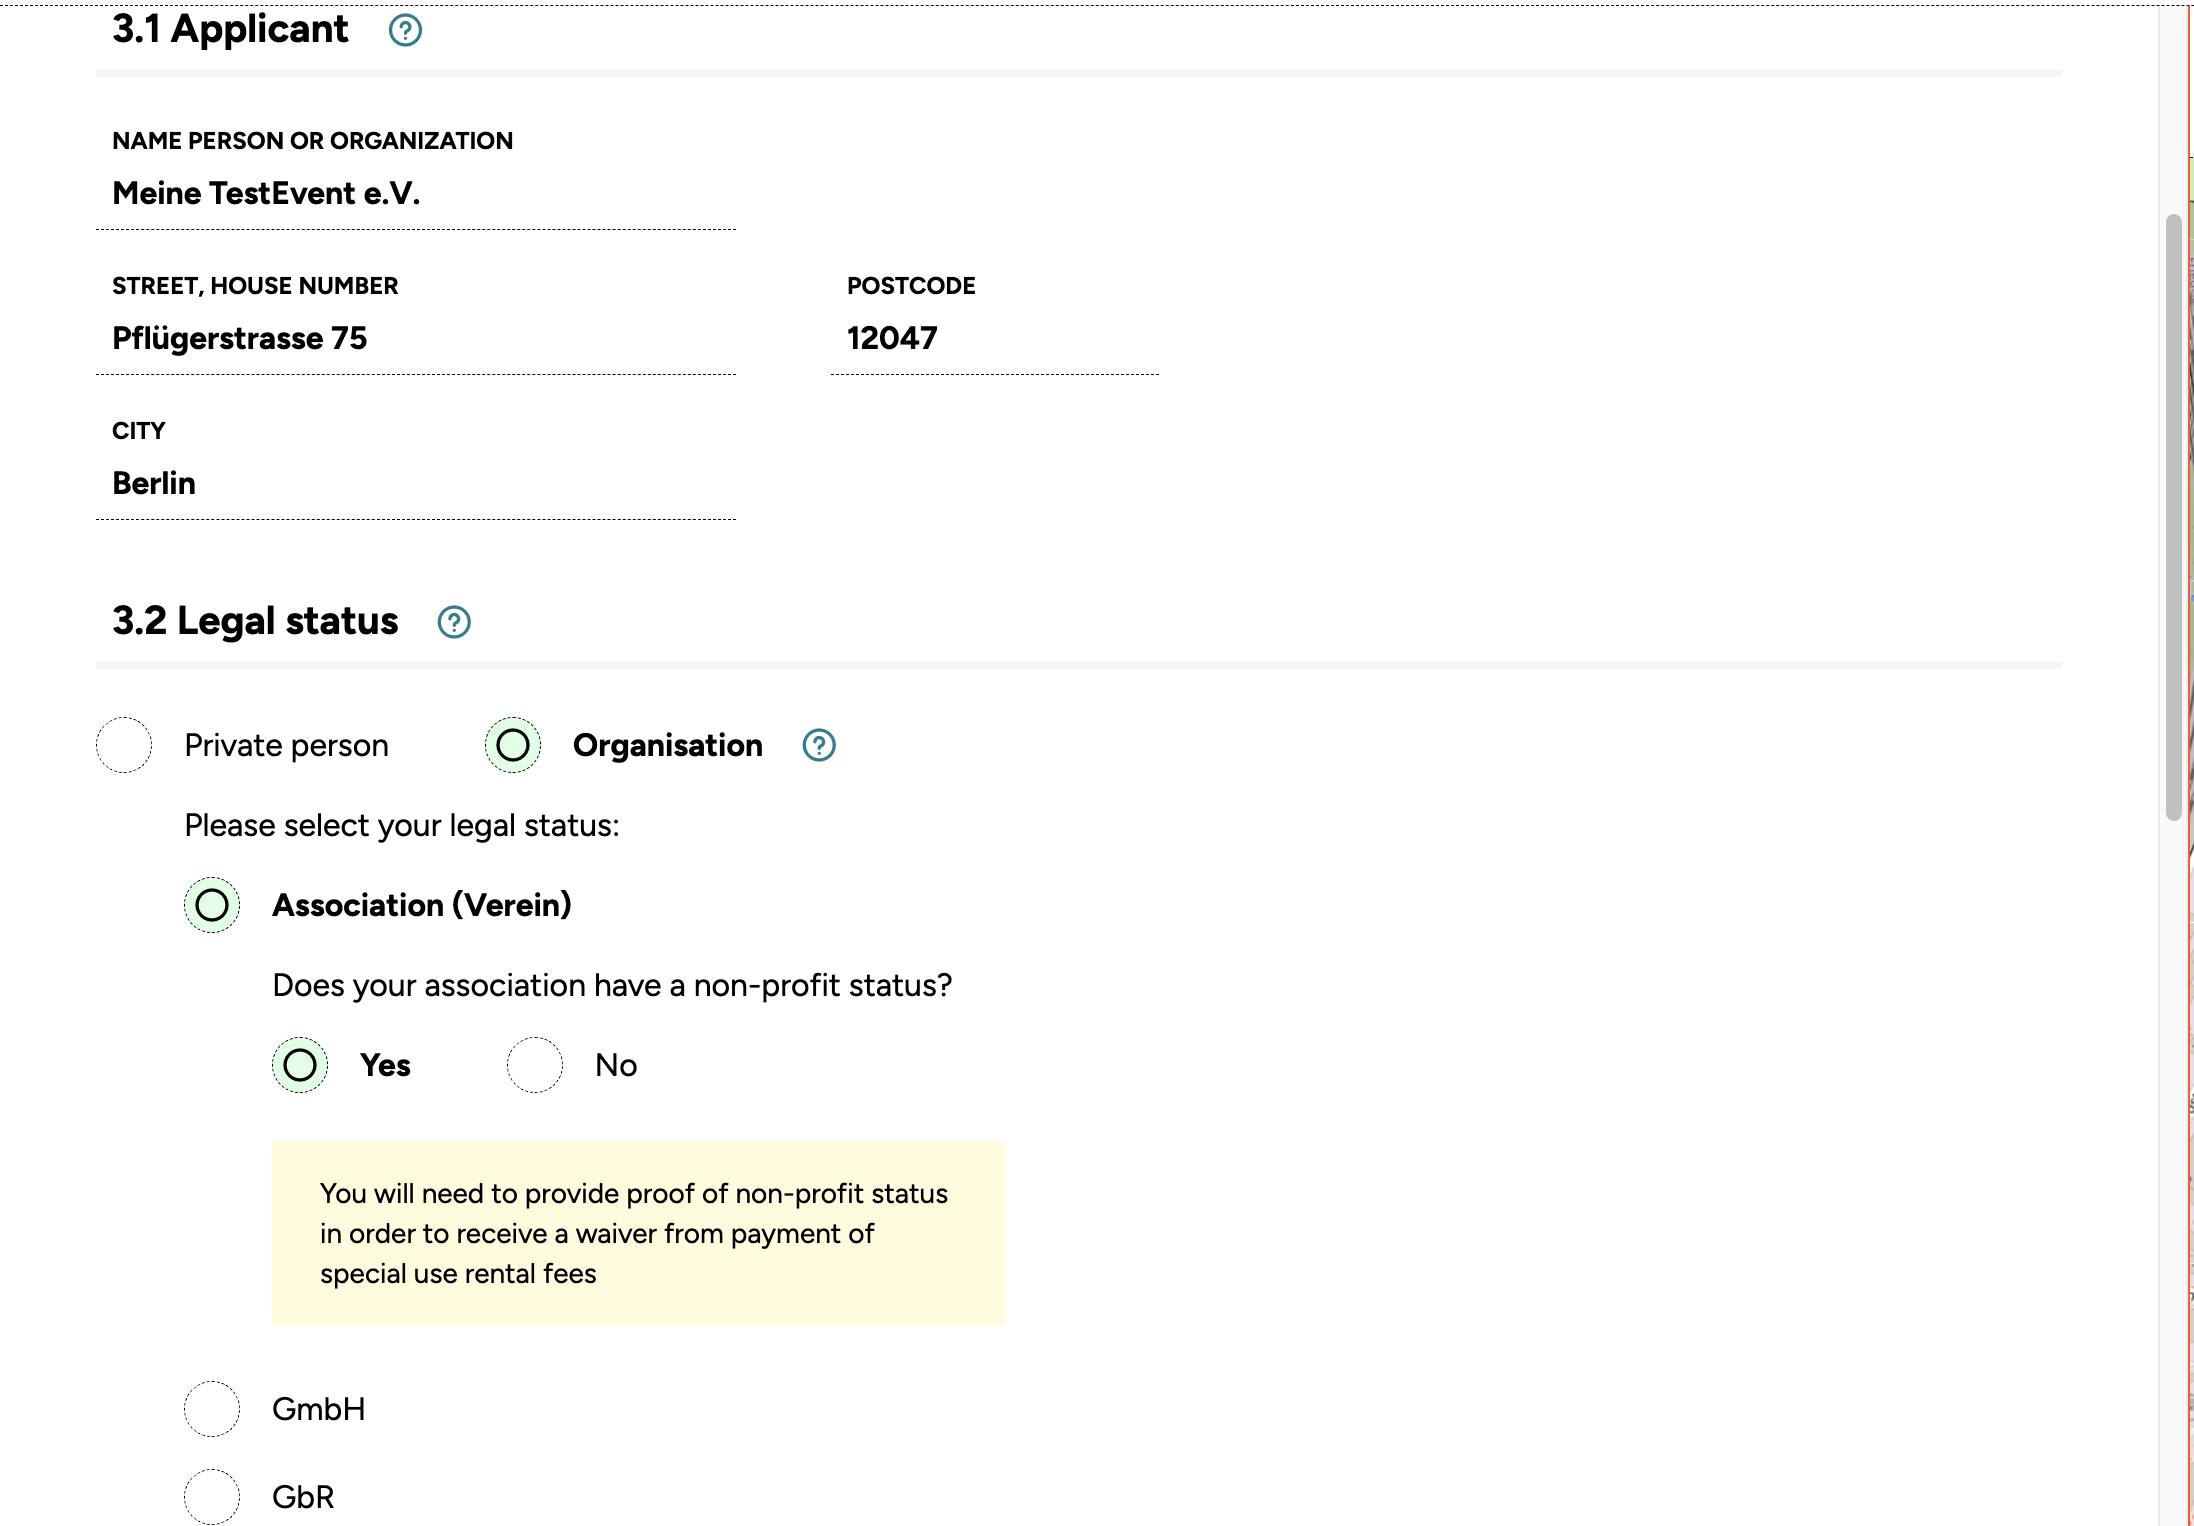
Applicant details
Enter the details of the person or organisation making the application, including the type of organisation and any relevant company information.
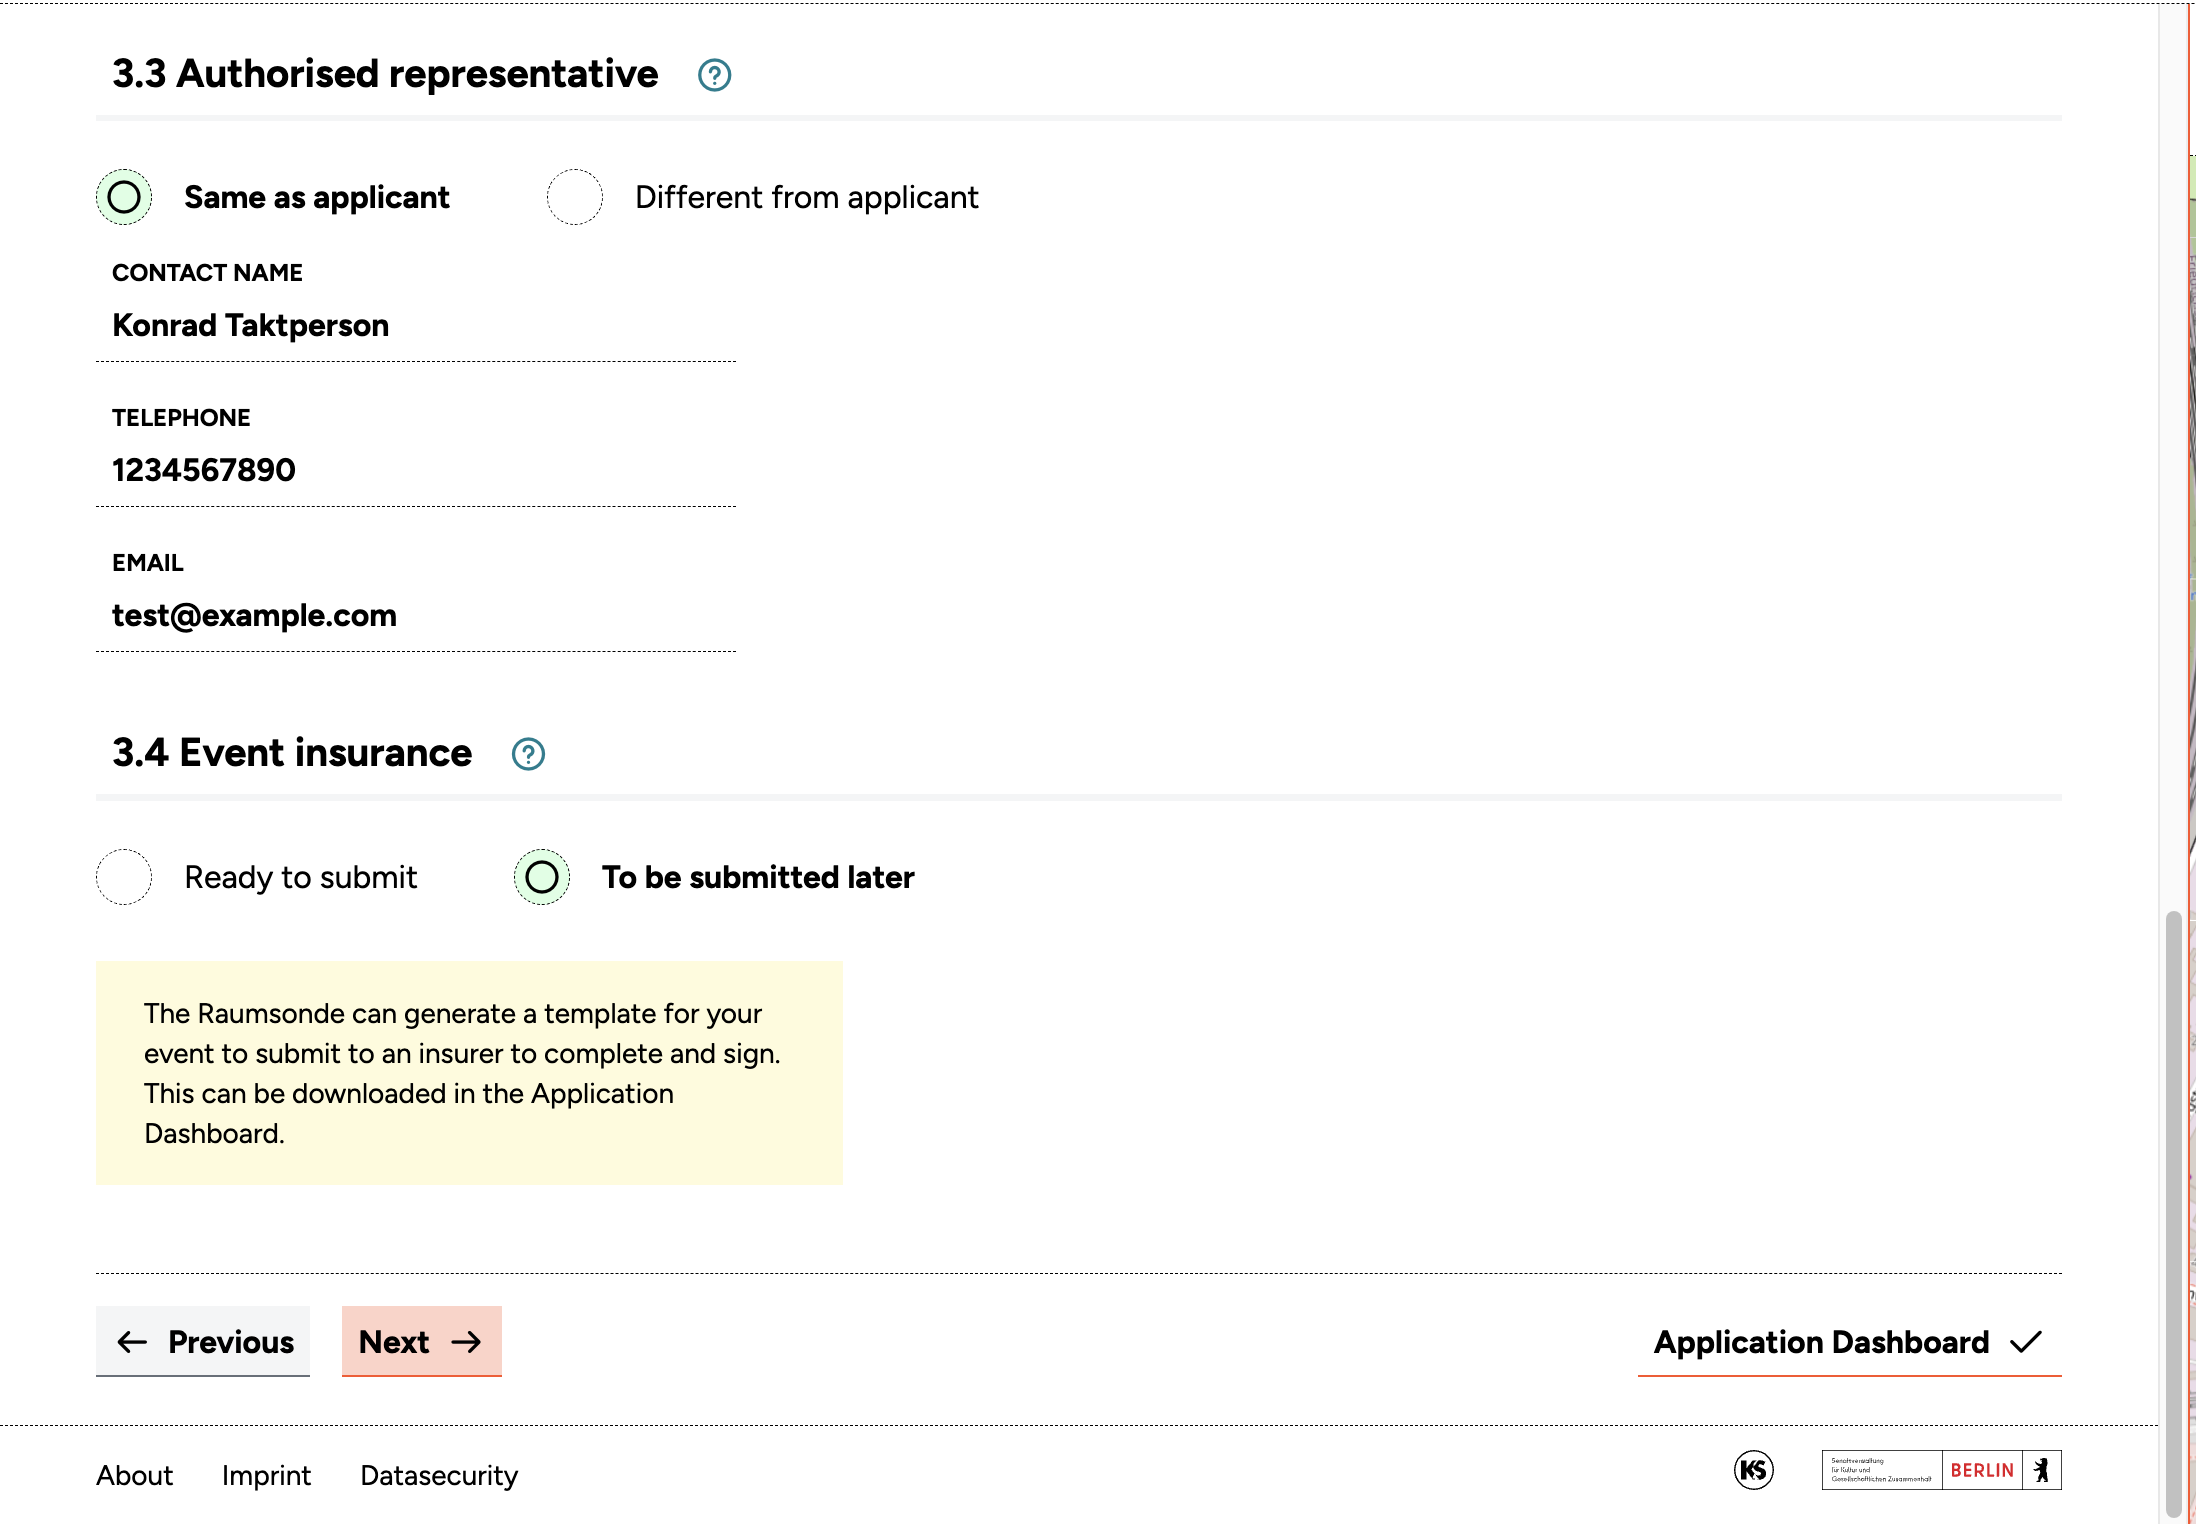
Contact person
If the event is coordinated by someone other than the applicant, you can enter a separate contact person for communication with the authorities.
Liability insurance
Organiser's liability insurance (Versicherungsnachweis) is usually required for events in public spaces. Your insurance company must complete a separate form, which can be generated by Raumsonde once all inputs in the Application Assistant are complete. The insurance certificate can be submitted with your application or later, but it will be required before final approval.
When all fields are complete, click Next to continue.
Step 4: Event Details
This step covers all the key information about the event itself.
Event description
Provide a brief, clear description of your event. You do not need to repeat information covered in other input fields. Focus on aspects such as:
- The type of event (e.g. music event, dance event, art and culture event)
- The intended audience
- The public interest the event addresses – this is particularly important for events in public spaces
- The value of the event for the local community, which can support the justification for a permit
- Whether the event is part of a broader framework of cultural activities
- Any consideration given to the environmental impact
- Whether the event will benefit the local economy
- Whether it is part of a local tradition or an outreach programme
Number of participants
Provide an estimate of the expected number of people, distinguishing between event participants (organisers, artists, staff) and visitors. Raumsonde adds these together automatically.
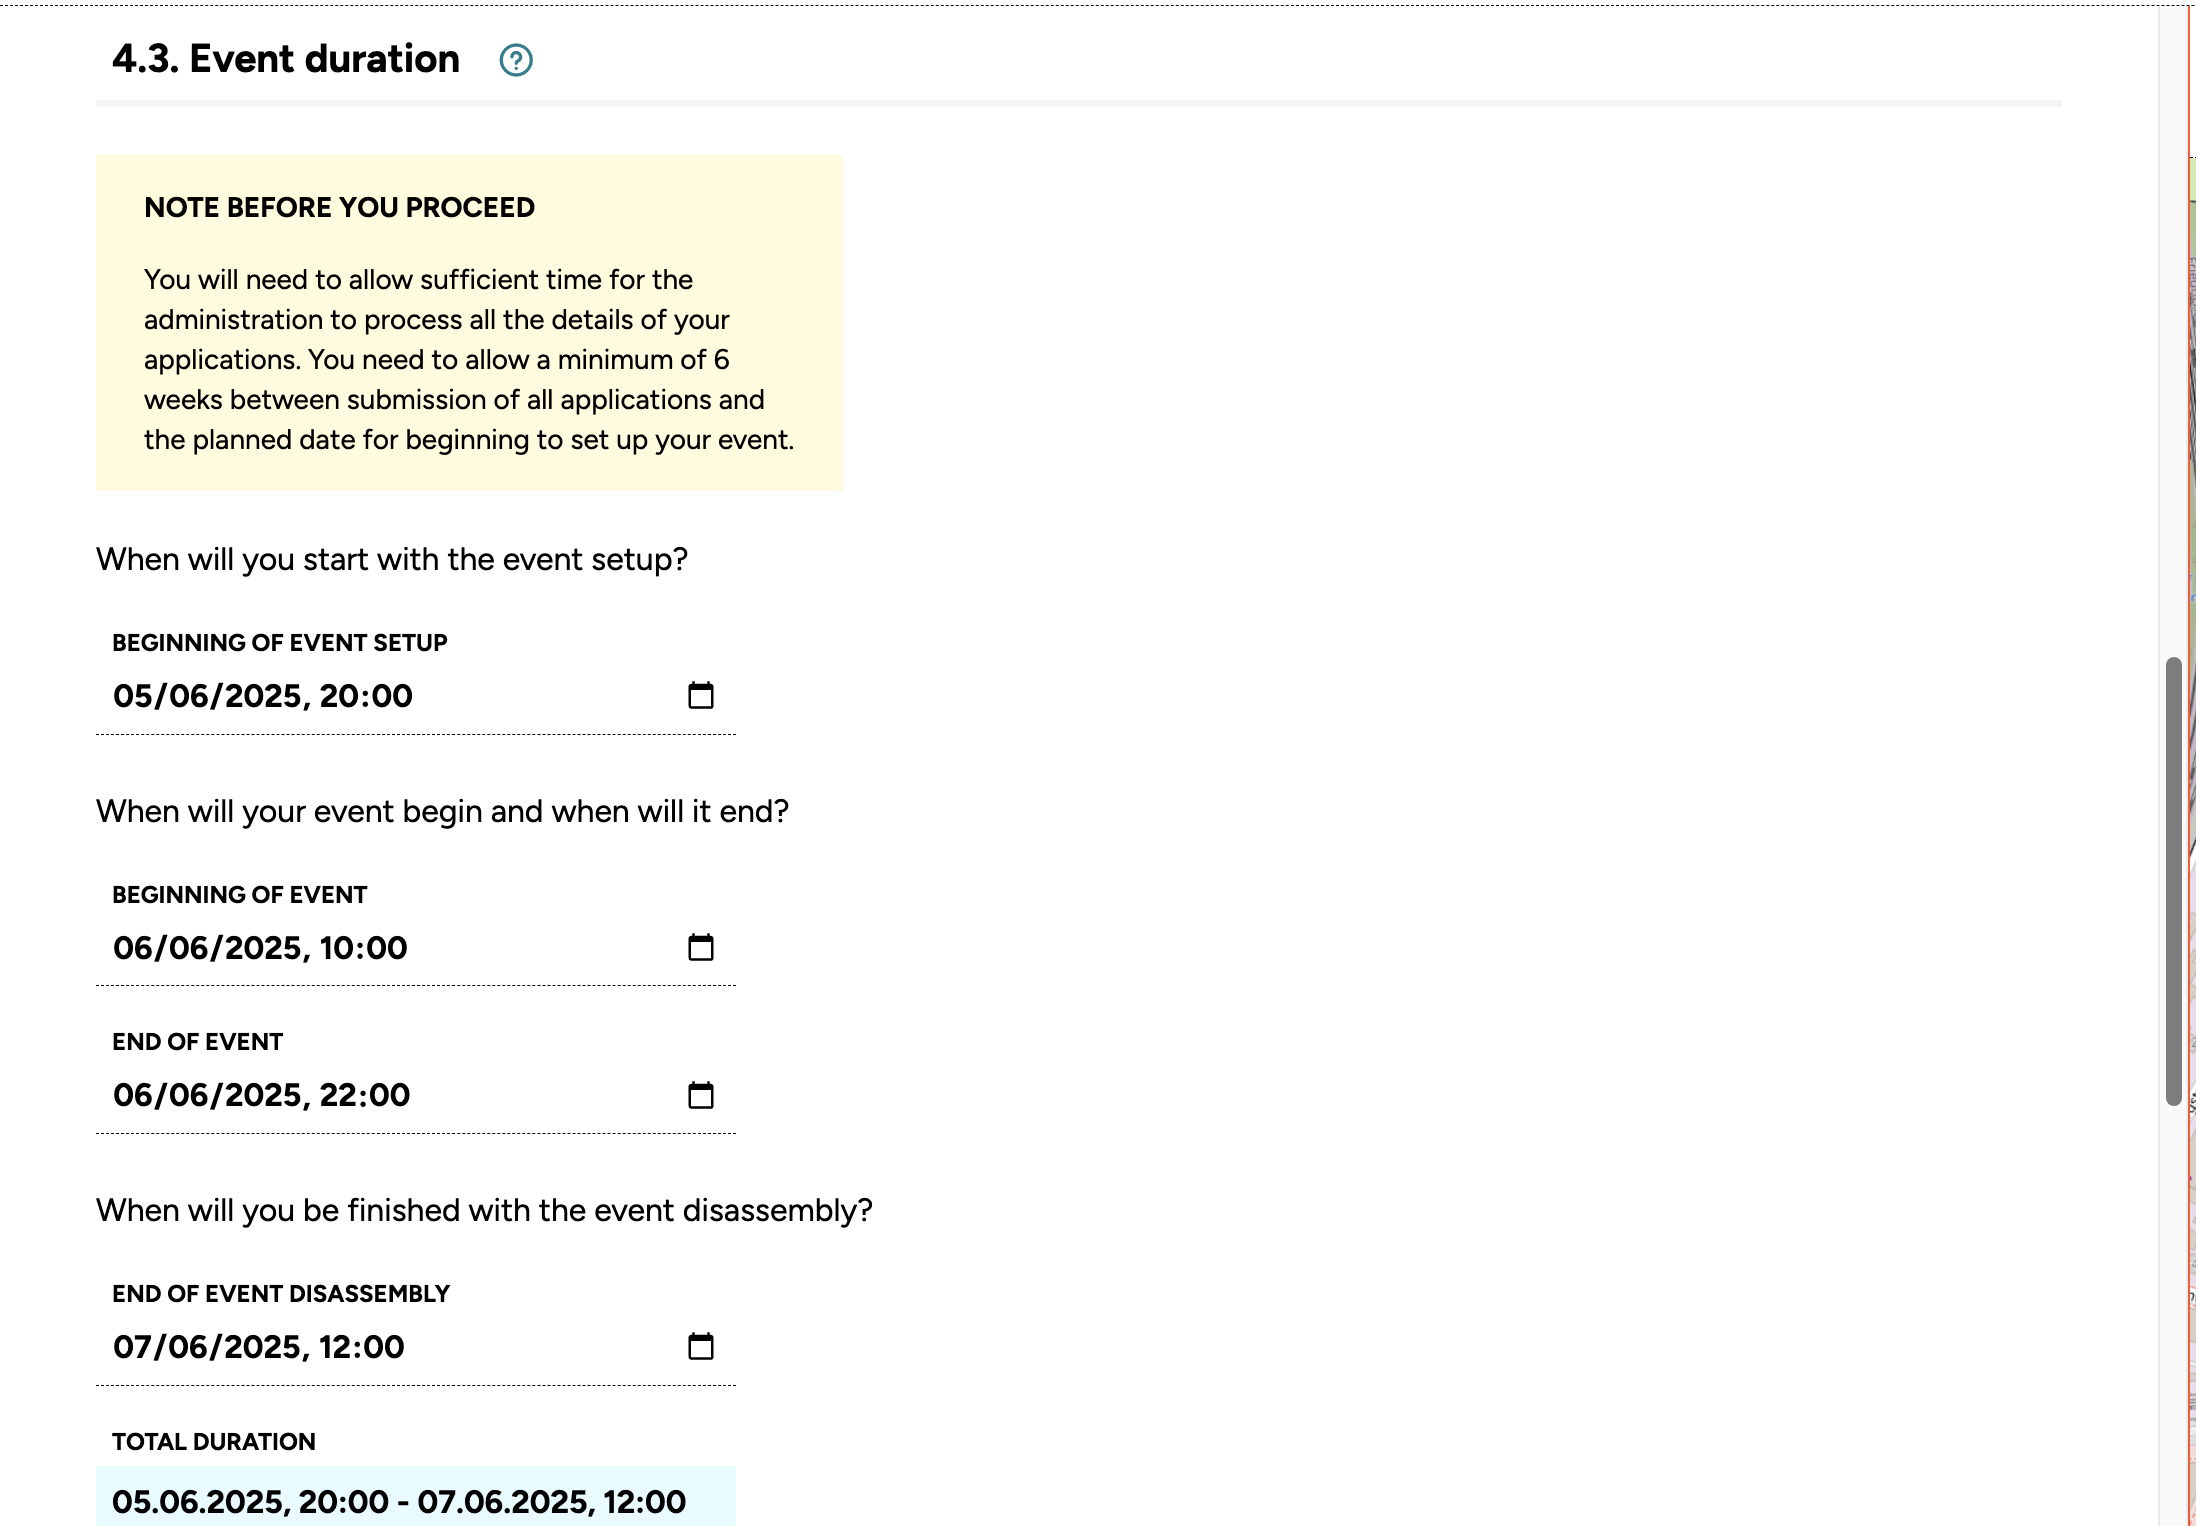
Timing
Specify when the event will take place. You need to account for the entire period during which you will need the space – from the start of setup to the point when the location is returned to its original condition. Enter the key dates and times; the tool calculates the rest and displays the results.
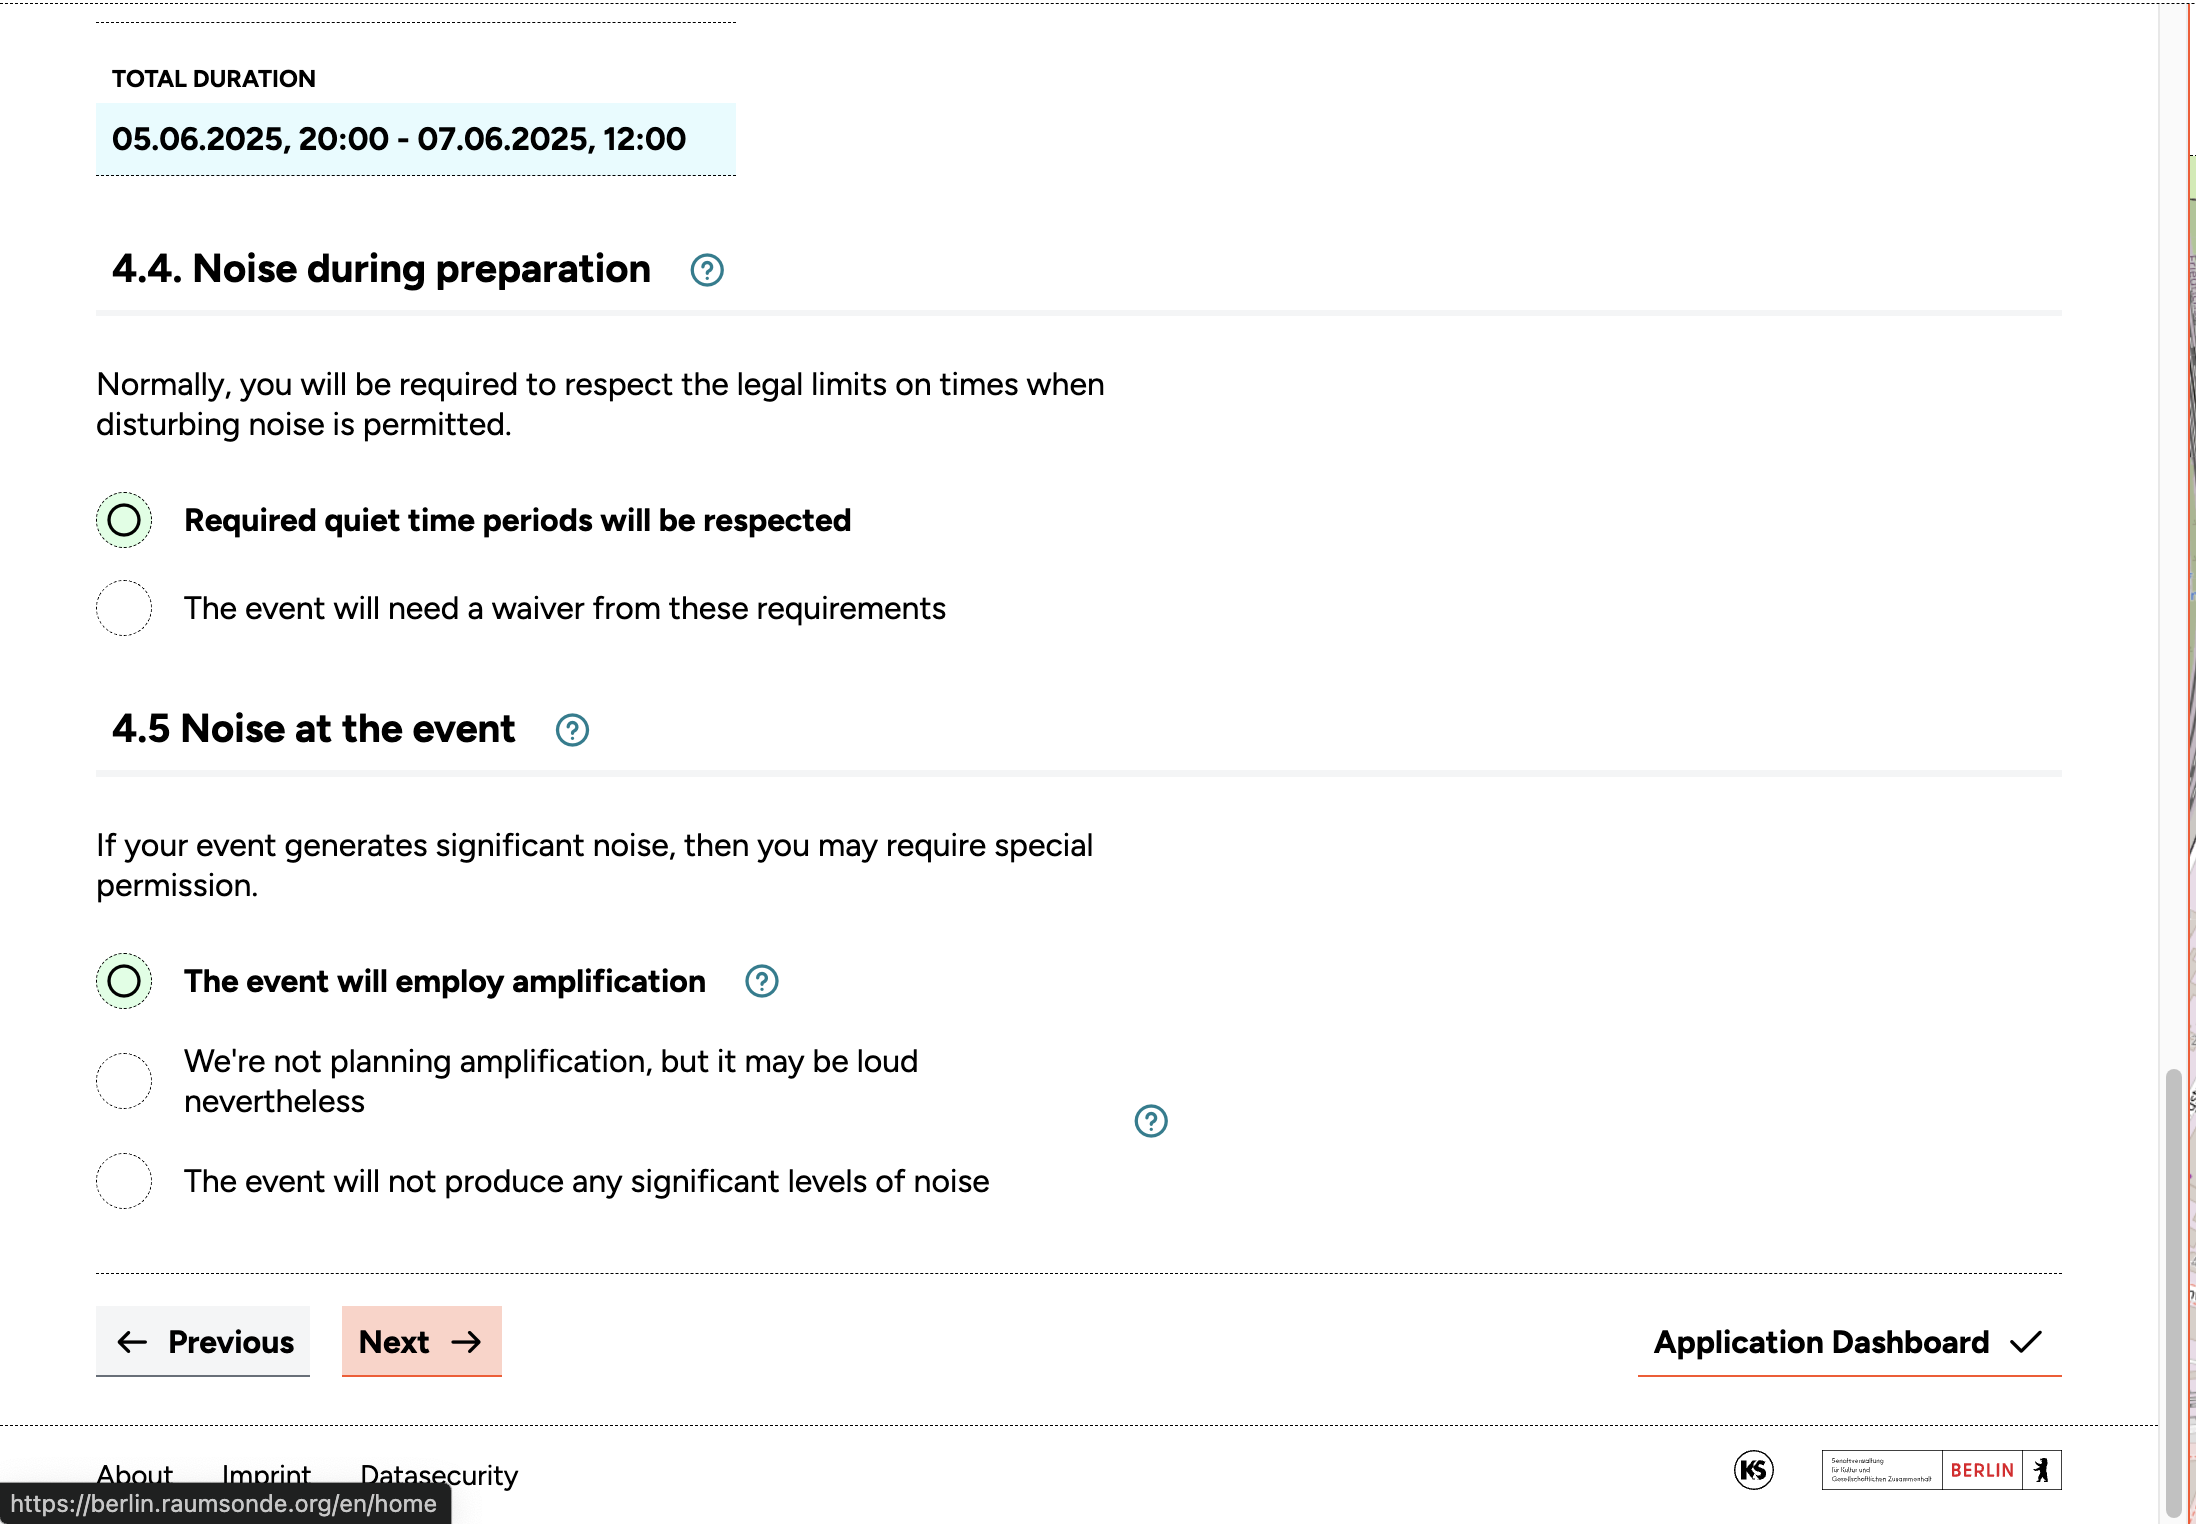
Amplified sound
If your event will use an amplified sound system (e.g. a PA system for a stage), you will usually need to obtain a noise protection exemption permit (Lärmschutz-Ausnahmegenehmigung). Whether this is required depends on the volume, time of day, duration, and proximity to residential buildings (Wohnbebauung).
Note: You should indicate whether noise will be generated only during the event itself or also during setup and teardown. For more information on how to handle noise and determine the maximal allowable noise level, please refer to the Guide for Immission Protection (Noise & Light) as well as to the Guide for Determining the permitted sound level for open-air events
This exemption is a separate process from the main event permit and must be submitted to a different department. At the end of the application process, the Application Assistant provides a link to the relevant permit service or to the responsible authority.
When all fields are complete, click Next to continue.
Step 5: Additional Information
This step covers several additional aspects of your event.
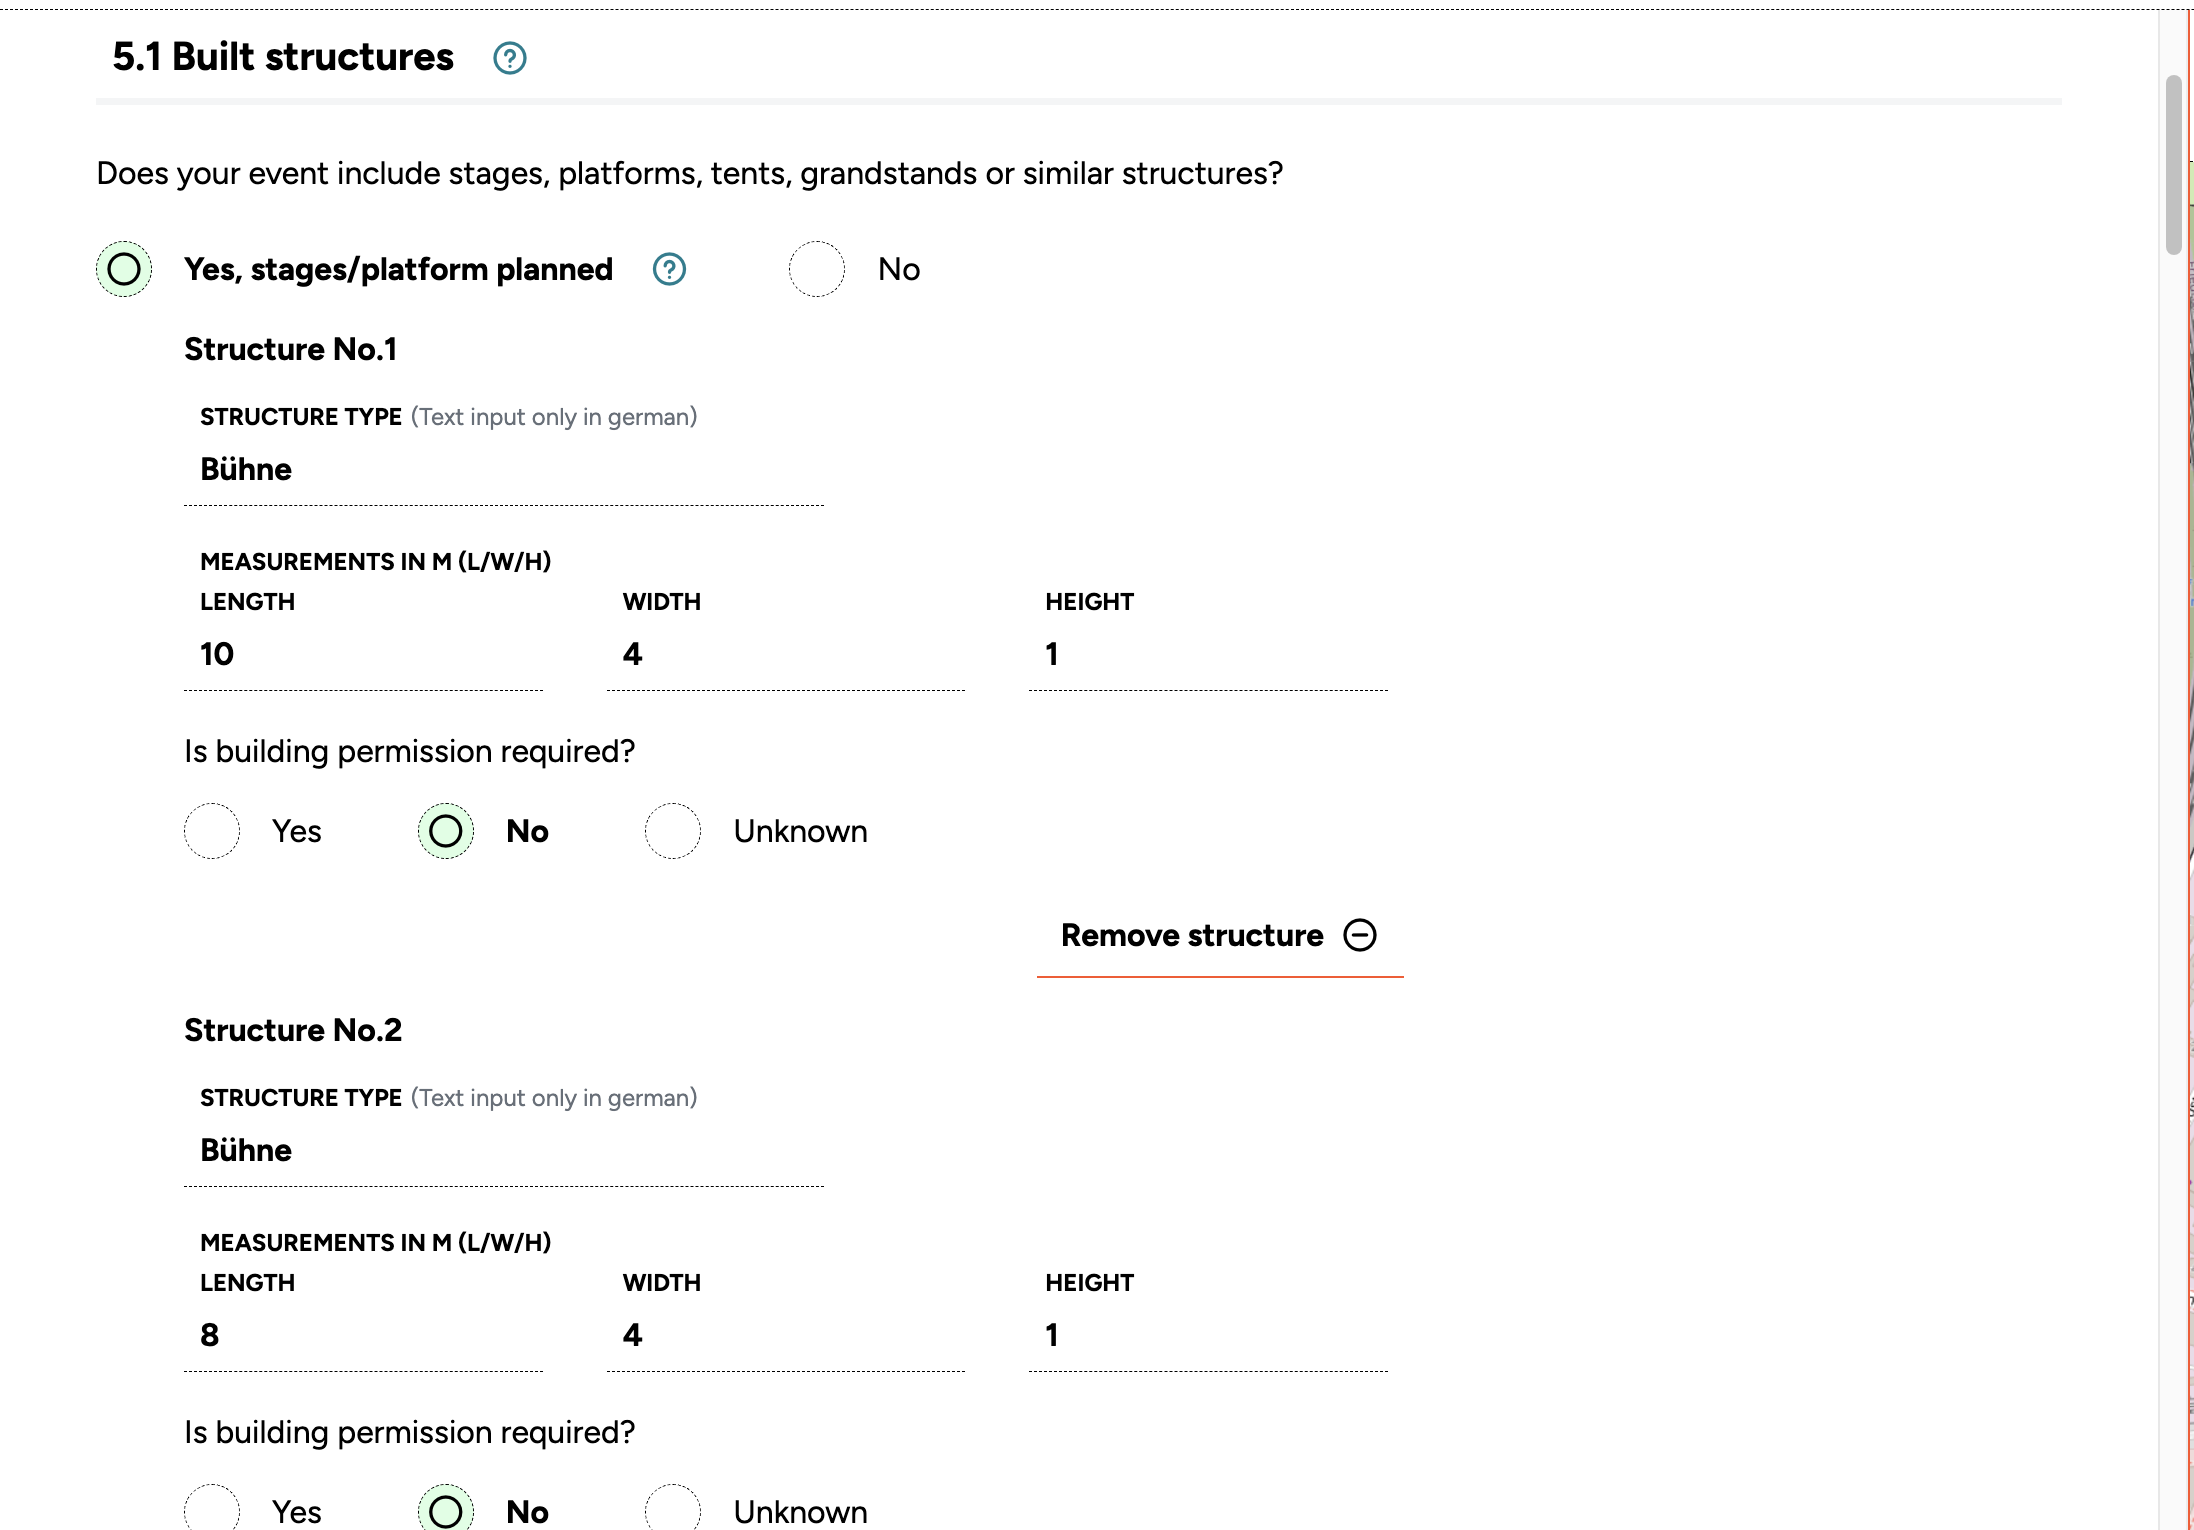
Built structures
Describe any built installations or structures you plan to use. Some may fall under the category of "Fliegende Bauten" (flying structures), which carry type approval from the TÜV and an associated inspection book (Prüfbuch).
Certain flying structures – such as tents with an area of up to 75 square metres – do not require additional approval. Larger structures may require approval from the local building supervisory authority in accordance with §76 BauOBln. Custom-made or hand-built structures usually do not have standardised type approval. While smaller elements may not require a special permit, larger structures often do. If you are unsure, contact the local building inspectorate as early as possible, as these procedures can be lengthy.
Note: For more information on whether and how to register flying structures in the application process, please refer to the Guide for Immission Protection (Flying Structures (Stages & Tents))
Describe each structure with its dimensions. You can add as many entries as you need.
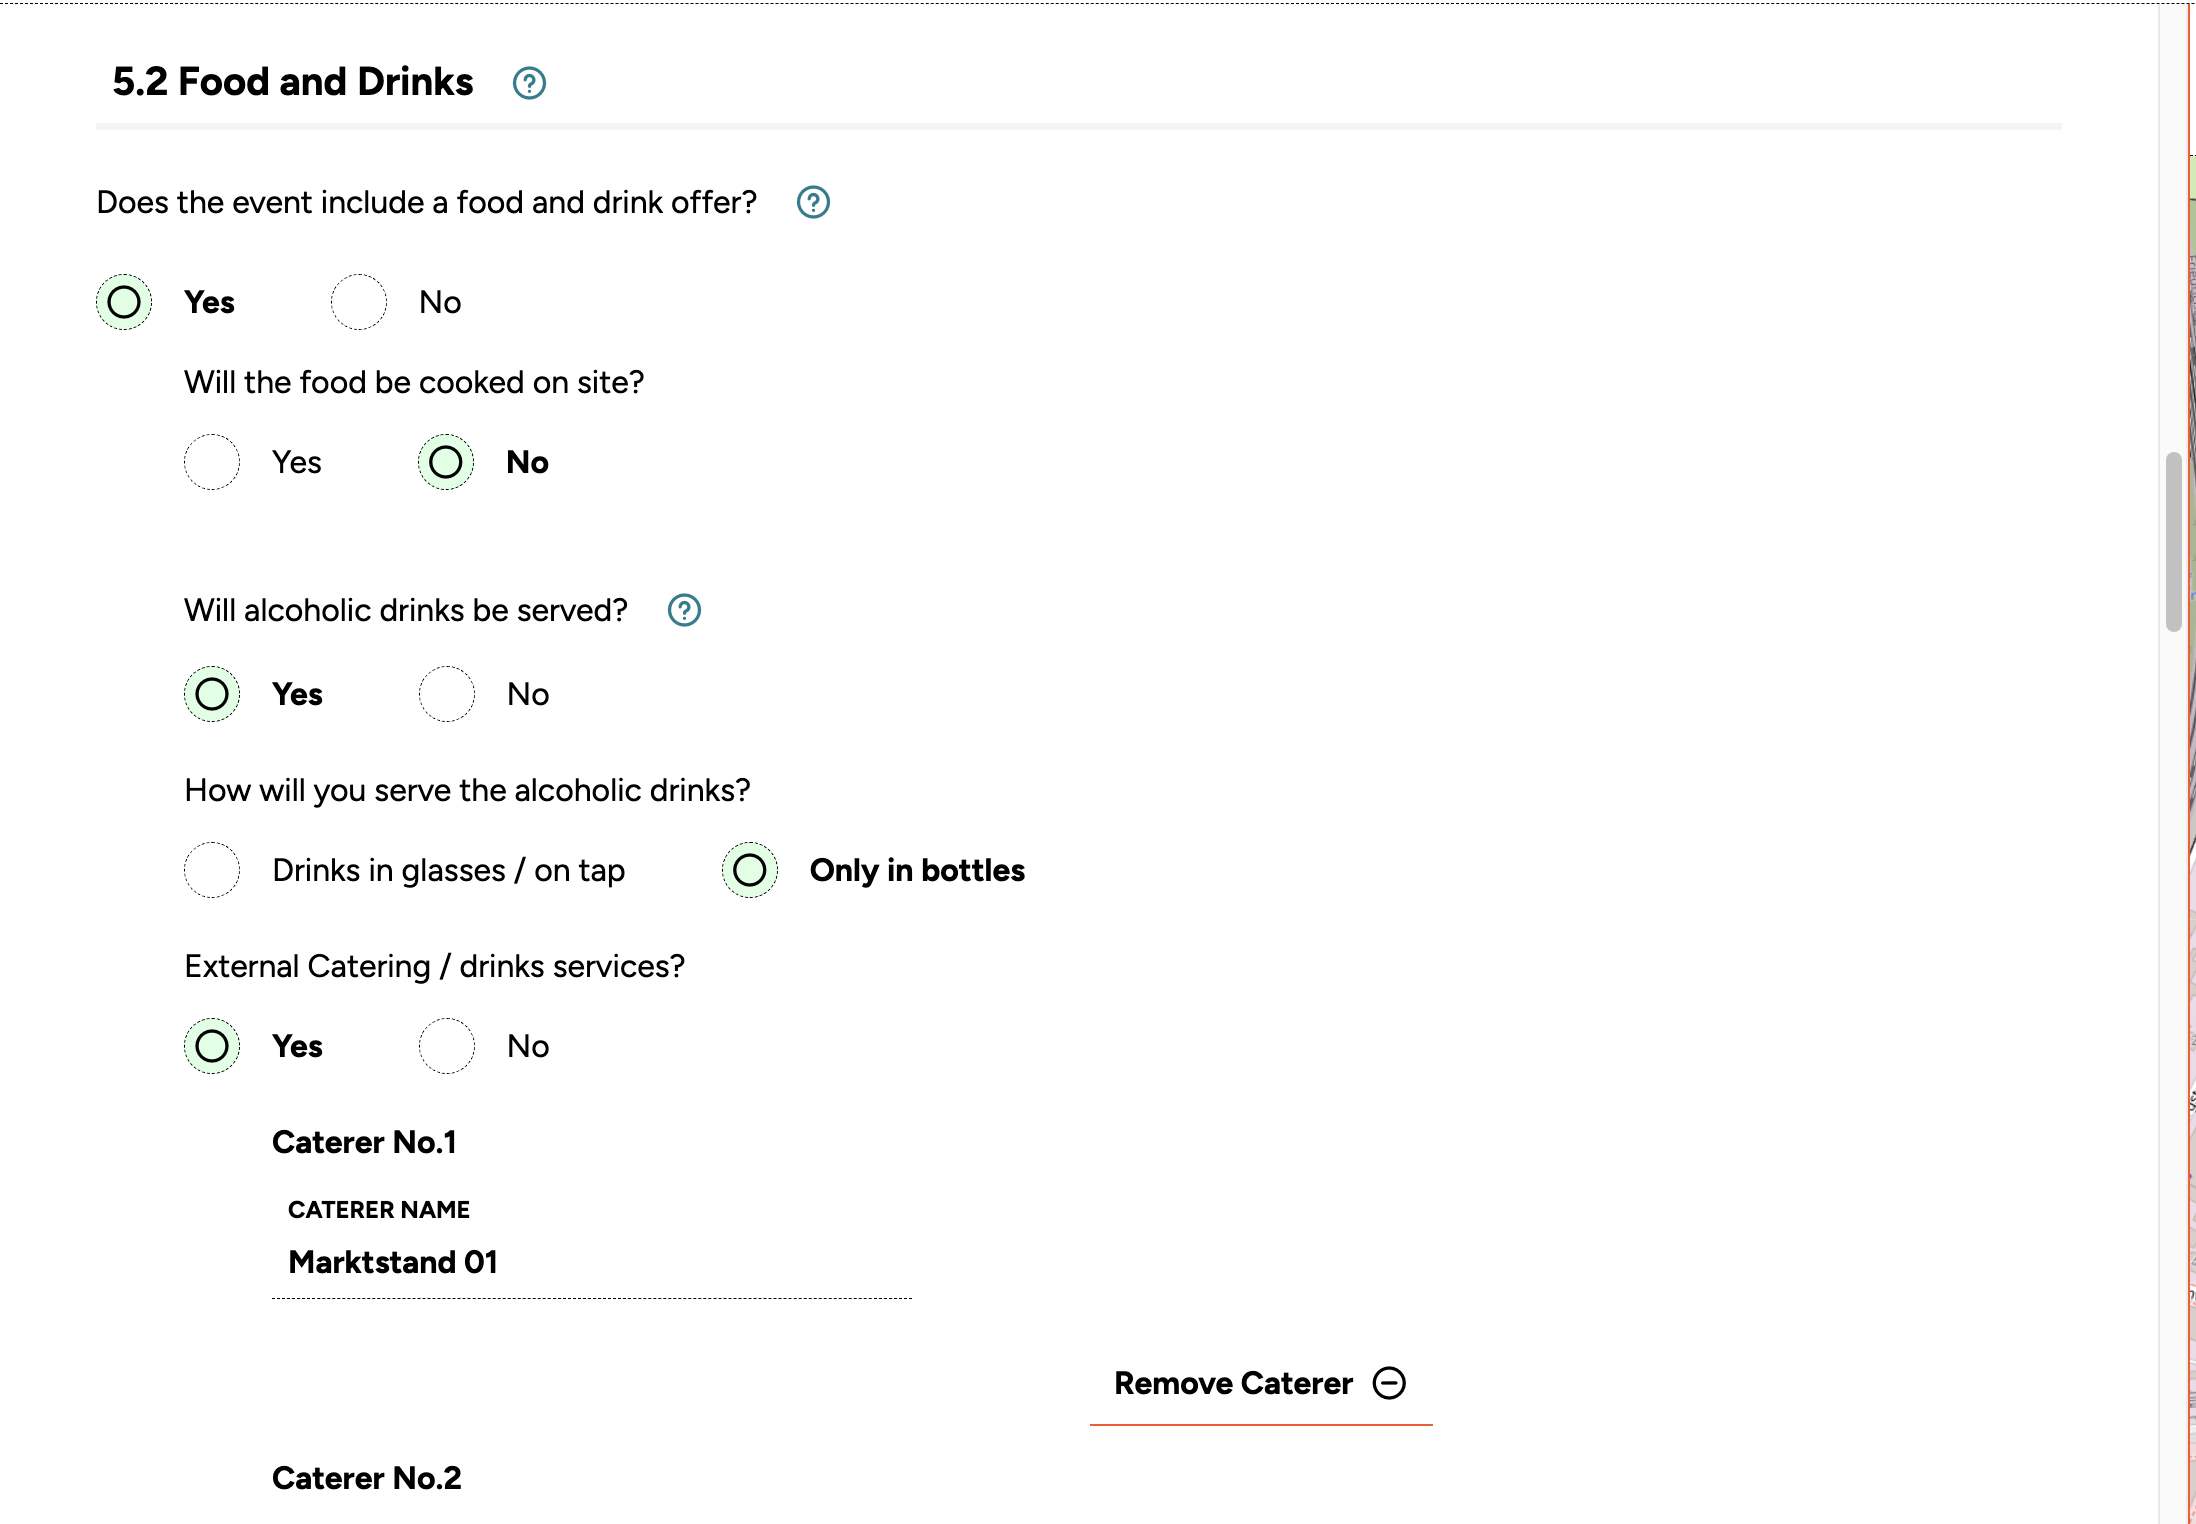
Food and drinks
Describe any food and drink provision planned for your event. Be as specific as possible about the scope and nature of what you have planned. If you are working with external caterers who will provide their own licences (Gewerberechtliche Gestattung), you can list them here. You can add as many entries as needed. Any relevant details not covered in this section can be included in your event description under 4.1.
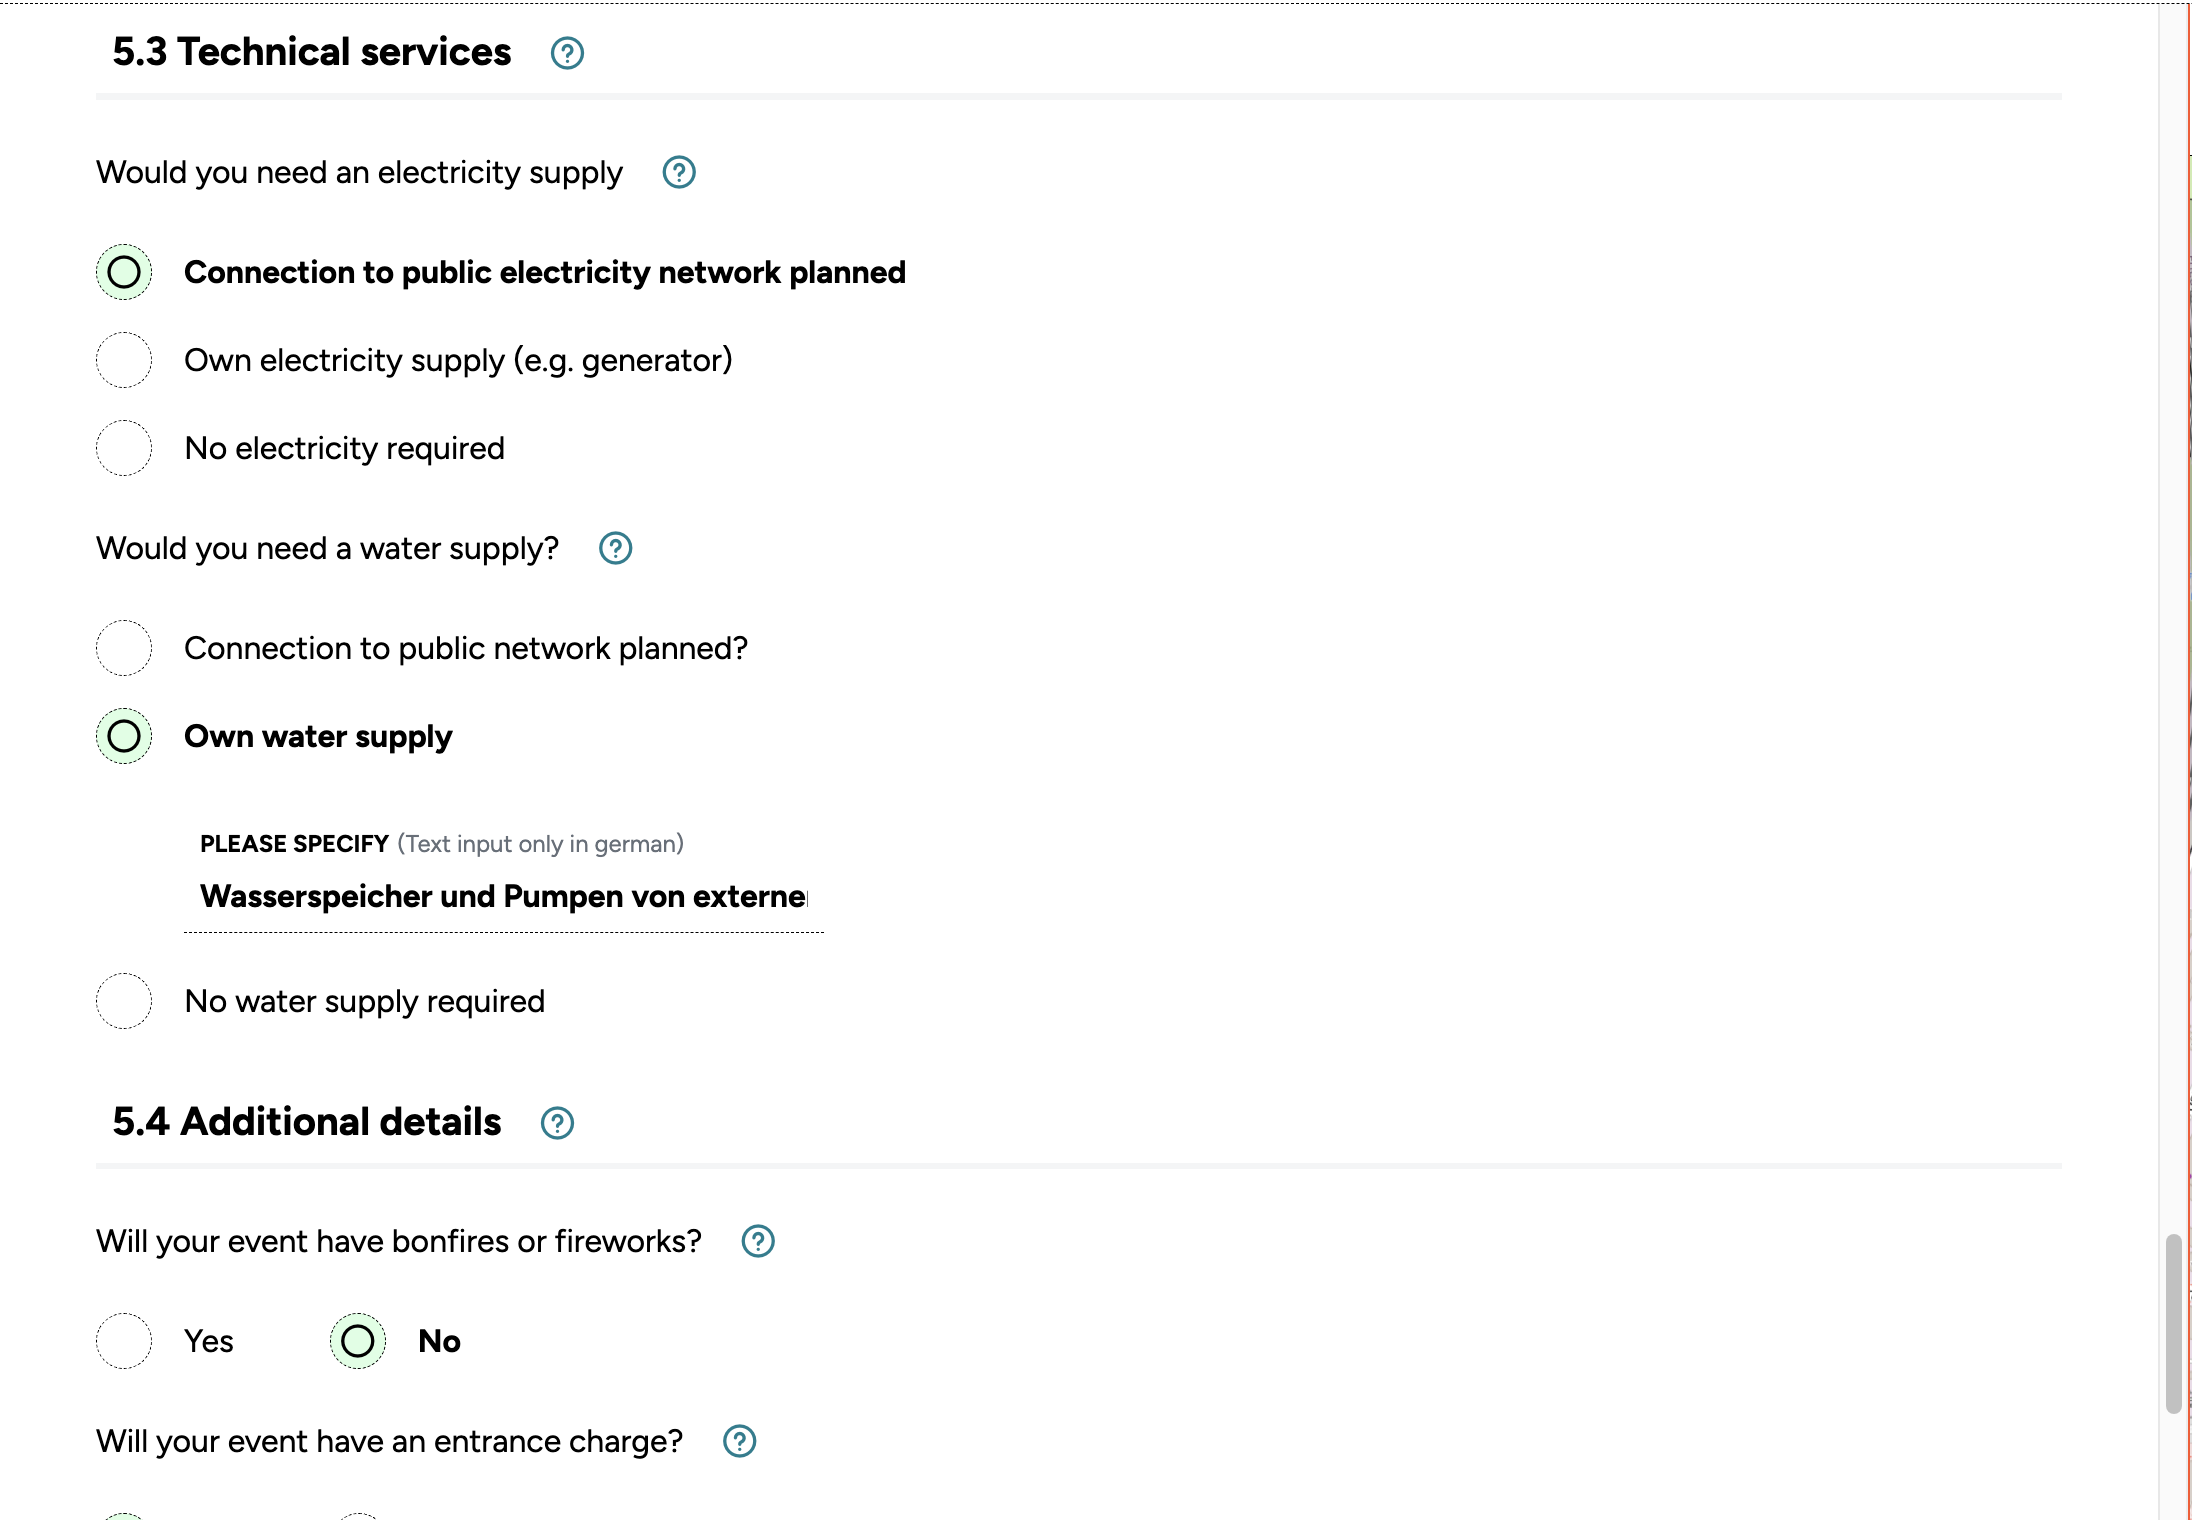
Technical services
Describe the technical infrastructure for your event, particularly electricity and water supply. Indicate whether you plan to connect to the public grid (e.g. a site power connection to the electricity network, or a connection to the water supply and wastewater disposal) or whether you will provide your own infrastructure (e.g. generators, water tanks, self-contained toilet facilities).
Make sure all planned infrastructure is marked and labelled on the site plan you submit with your application. If you plan connections to the public electricity or water networks, Raumsonde provides links to the services where you can apply for these temporary connections.
Other aspects
Describe any further aspects of your event not previously covered. Some – such as fireworks or pyrotechnics – may require additional permits, for which the tool can provide guidance.
Once all fields are complete, click Review Application to proceed to the Application-Dashboard.